The Five Stages of Pencil Grip Development
There are 5 developmental stages, that a child needs to go through, before they can successfully use a mature tripod grip. They need to work through each stage and as their hand, shoulder and arm strength and mobility increases so does their ability to move to the next developmental stage of the grip. Children develop through these grip stages over time with new experiences using different tools and drawing/writing mediums especially in the early years (0 to 4 years old).
You will find that young children will move between, or have slightly different versions of, the grips depending on the task or the effect they are trying to achieve. This is exactly what we want to happen.
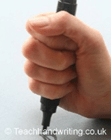
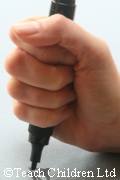
Stage 1. Palmer-supinate grasp
Holds the crayon/pencil in fist (whole hand) like a dagger. They use whole arm movements from the shoulder to mark-make. Due to this whole arm movement they prefer to work on a vertical surface.
Stage 2. Palmer or digital-pronate grasp
Holds a crayon/pencil with the palm of the hand facing down towards the paper. The crayon/pencil is held by all finger and the thumb. The movement comes from the shoulder and elbow. Again, due to the way the arm moves a vertical surface is preferred.
Stage 3. Four finger and thumb grip
Holds the crayon/pencil between the thumb and four fingers with the crayon/pencil nearly vertical up right position. Movement comes from the elbow and wrist.
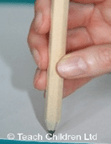
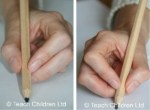
Stage 4. Static Quadruped or tripod grip
Holds the pencil in very nearly in the correct position however the web space is narrower than it would be if held in a mature tripod grip. This means that the movement is coming from the wrist and large finger movements.

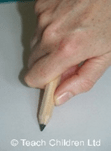
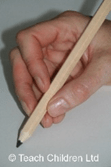
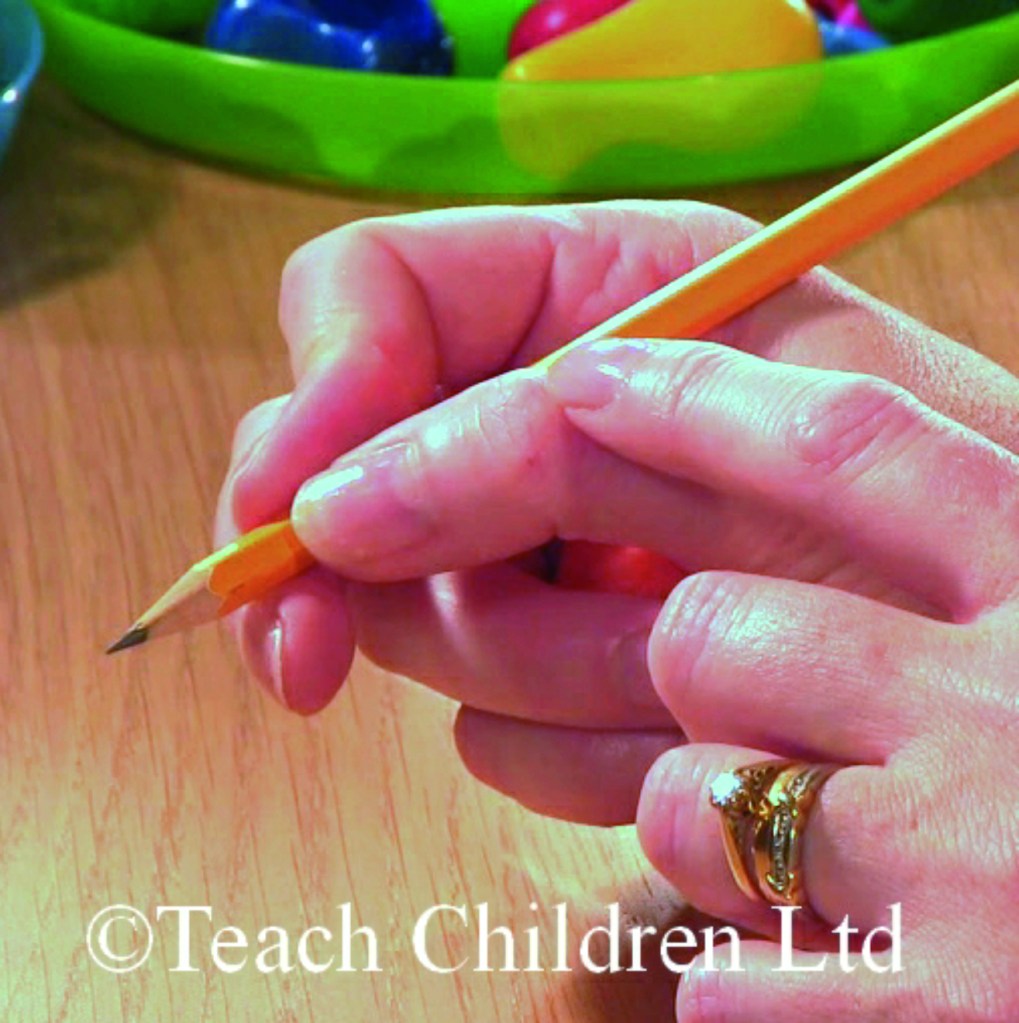
Stage 5. Mature/Dynamic tripod grip
This is traditionally considered the most appropriate pencil grip for handwriting. Holding the pencil between the thumb and index finger with pencil supported on the middle finger. The ring and little fingers are gently curled inwards. This give an open wide web space which means the movement comes from the fingers. For more information on the five stages of pencil grip development click on the following link: https://teachhandwriting.co.uk/pencil-grip-development-foundation-stage.html
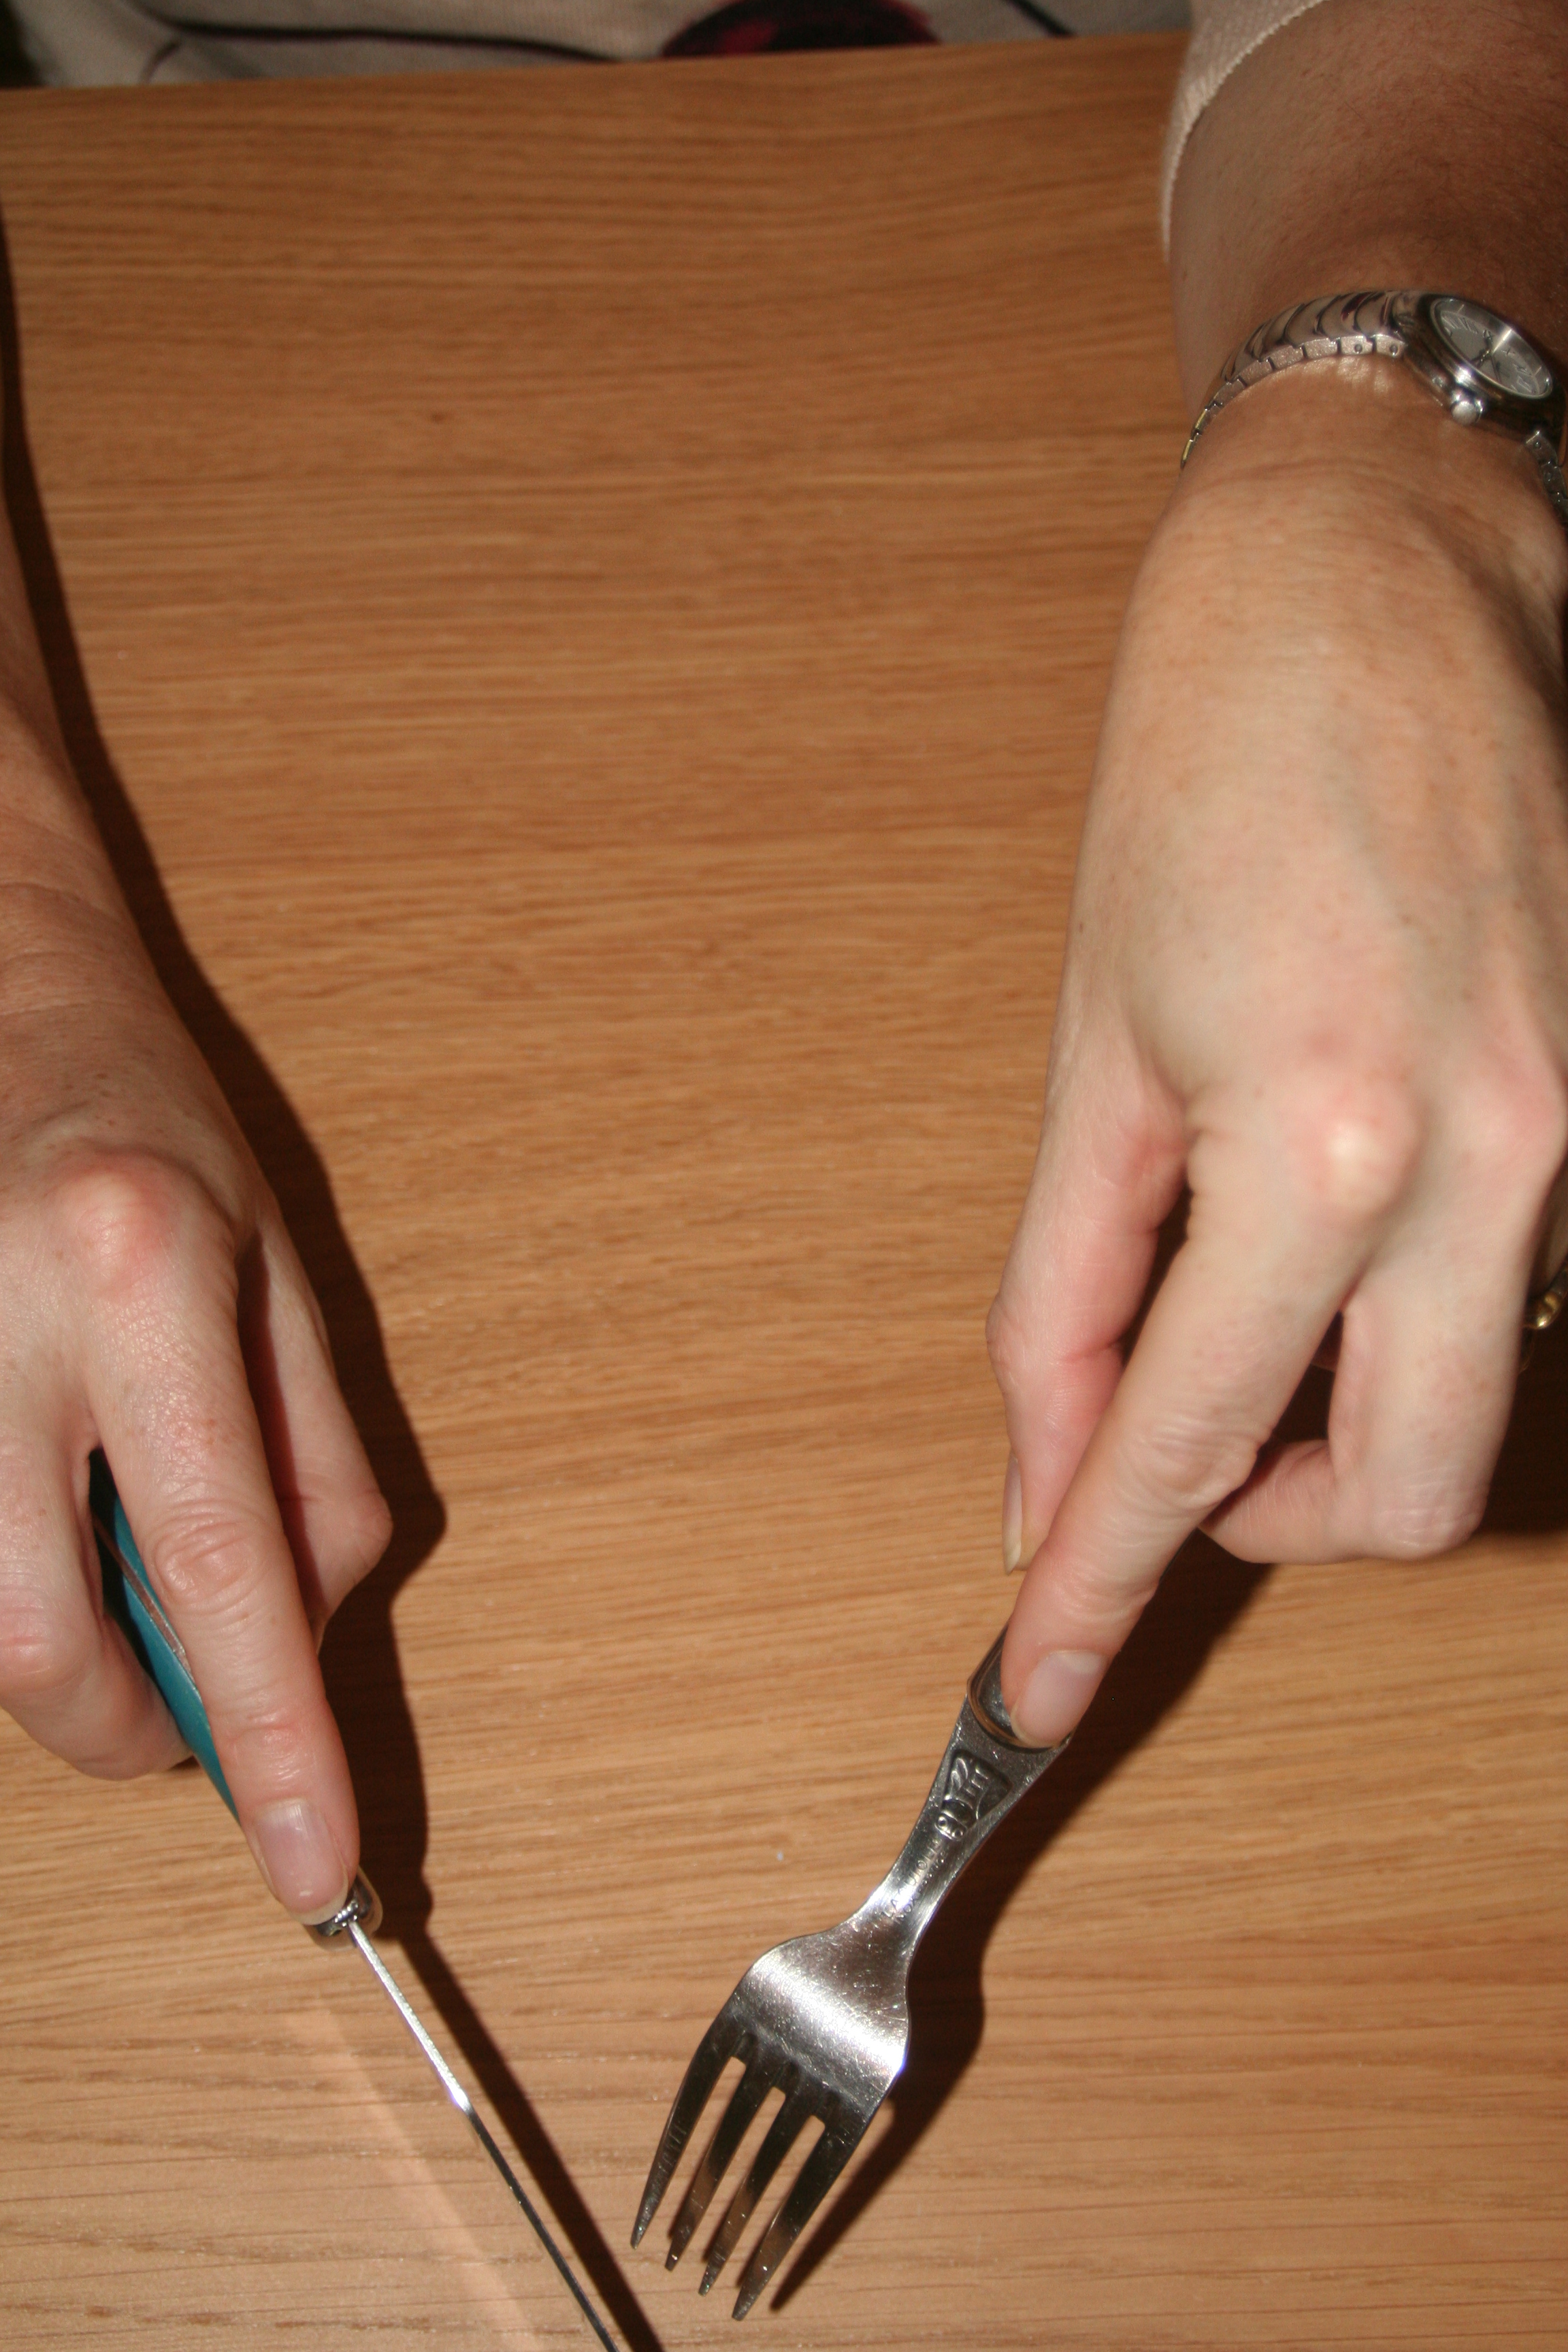
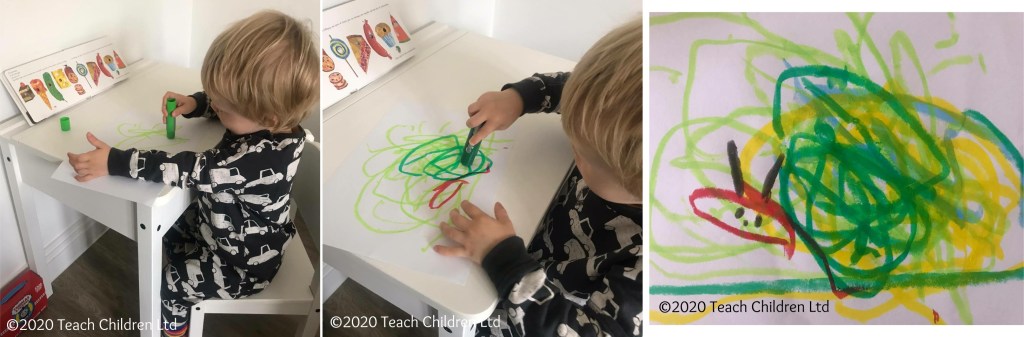
Case Studies
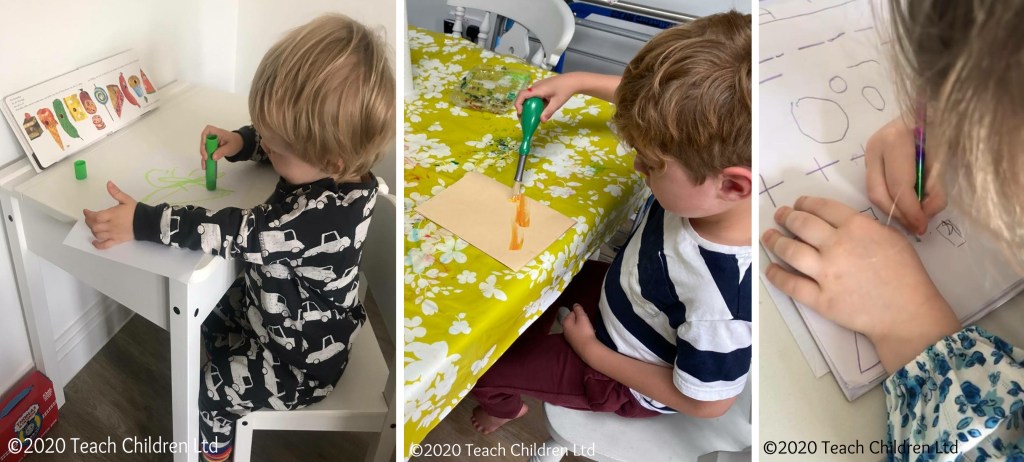
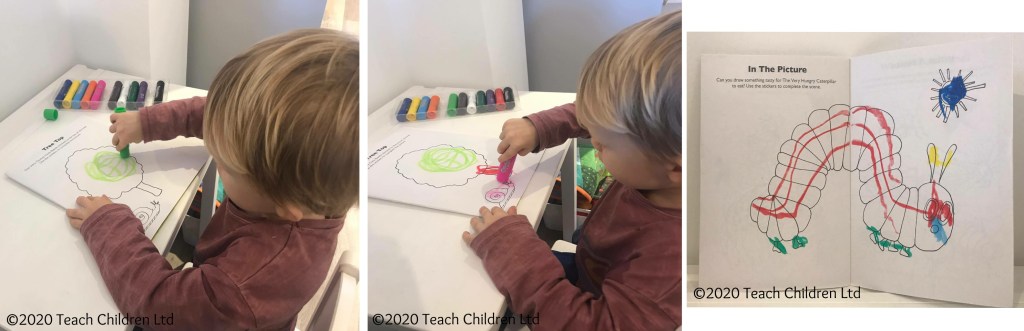
For example, young Billy here is using a variation of a stage 1 – 3 throughout these colouring activities:
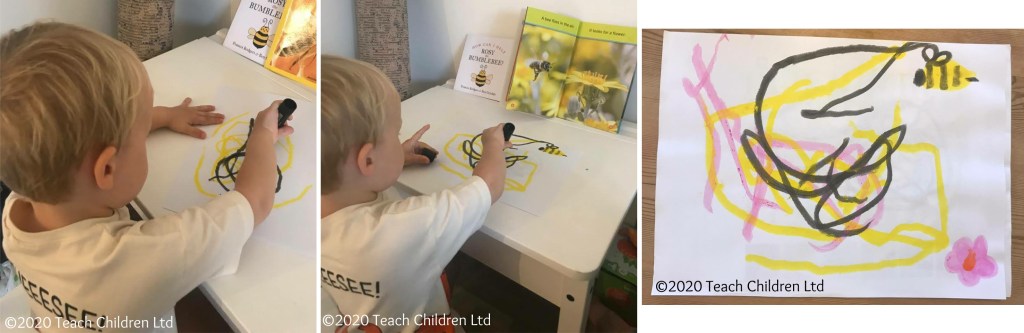
In this example it might look as if Billy has gone backwards in his grip development but he has not, he has learnt that the grip he is using offers him greater control:
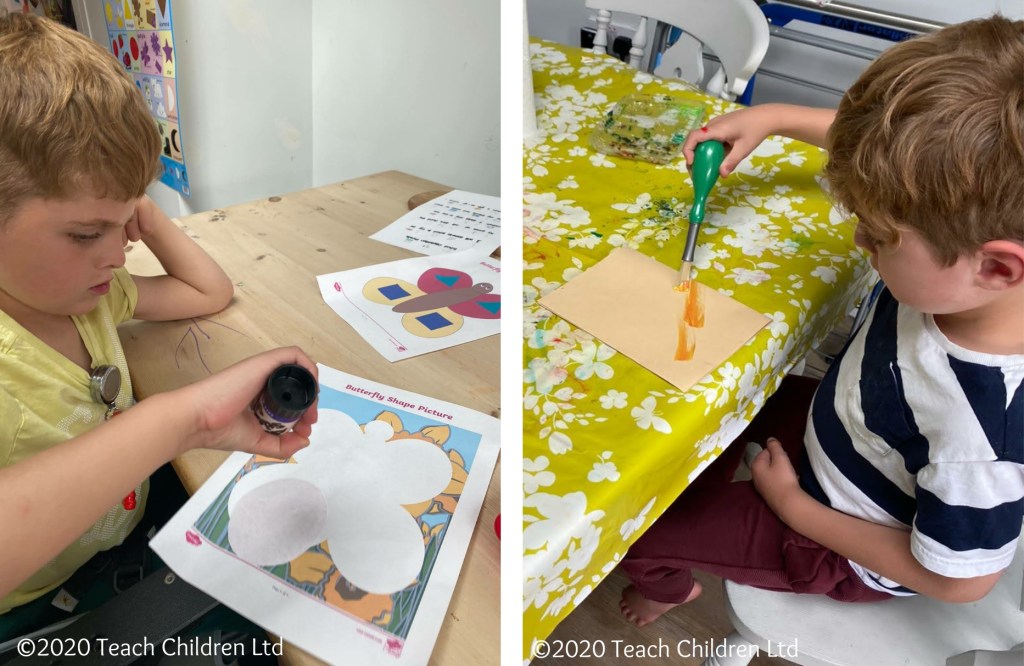
Young William here is using different variations of stages 2 and 3 for gluing and painting activities:
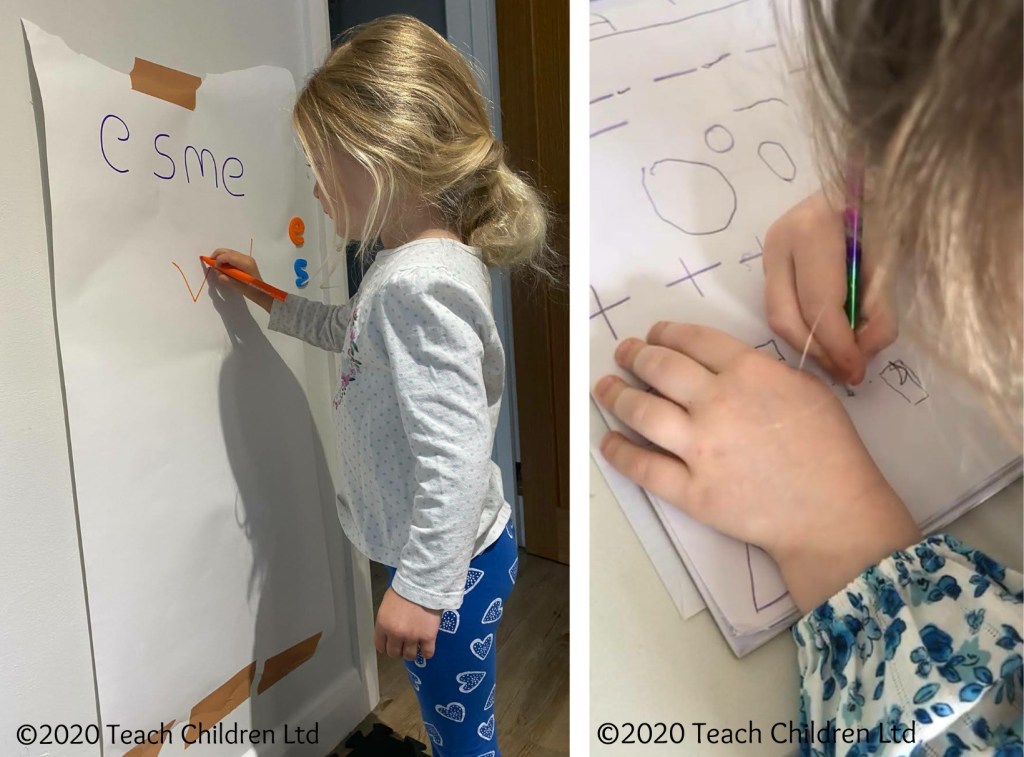
Esme and Issy have both moved to stage 4 although for some activities such as drawing/painting they may use a different grip, but that is what we would expect to see.


 There have been many articles over the last few years reporting the fact that children are struggling to hold pencils correctly for handwriting and drawing. The reasoning for this is more often than not based on our children’s use of technology and the effect this has on their hand strength and finger dexterity (Fine Motor Skills).
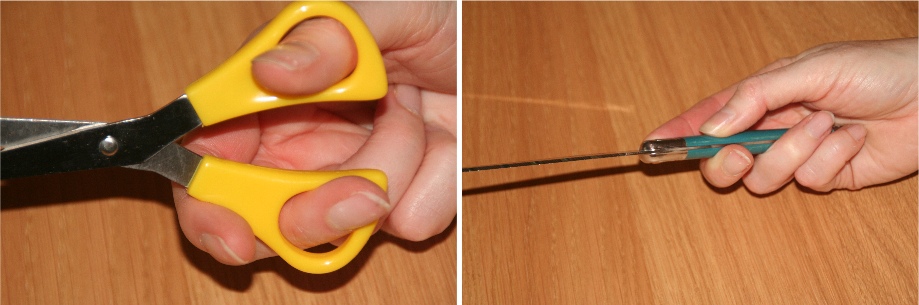
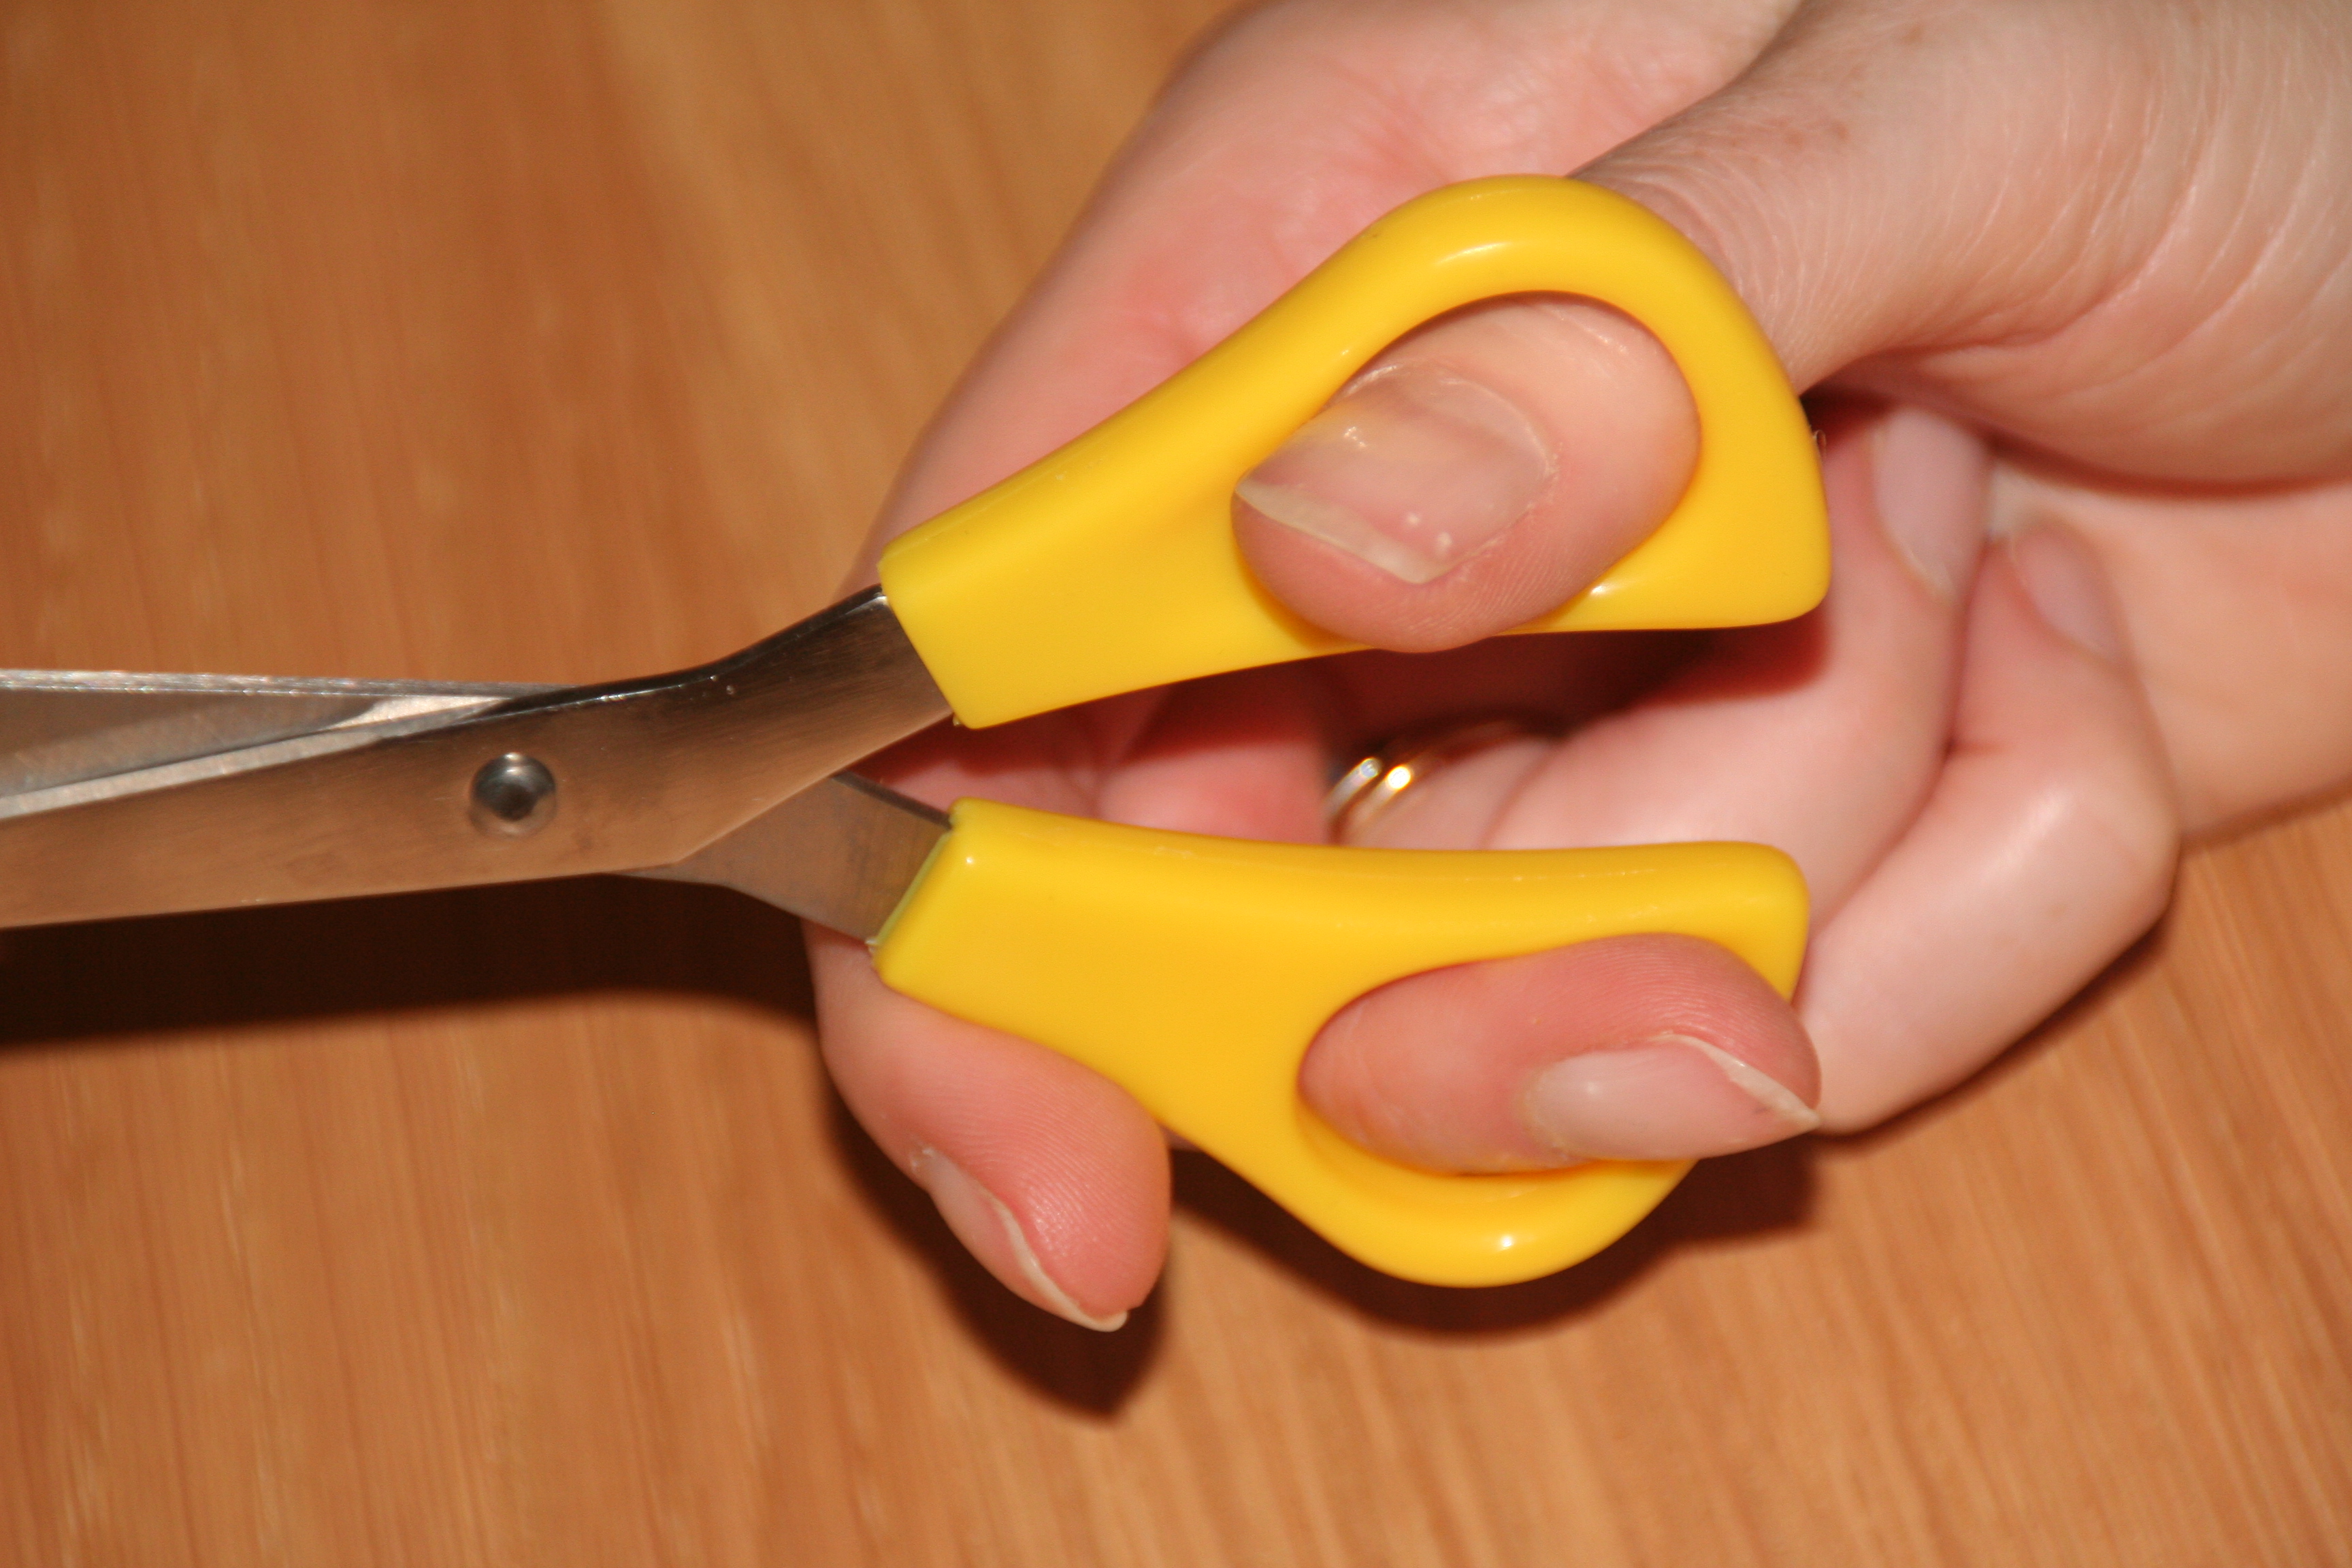 The tip of the thumb is in the top hole of the scissor handle while the tip of the middle finger is in the bottom hole. The index finger is on the bottom edge of the lower handle supporting and stabilising the scissors. The ring and little finger are curled into the palm (except if you are using large scissors as then they will fit in the bottom hole of the handle with the middle finger, to help create the cutting action).