Does Your Child Have Weak Hands?
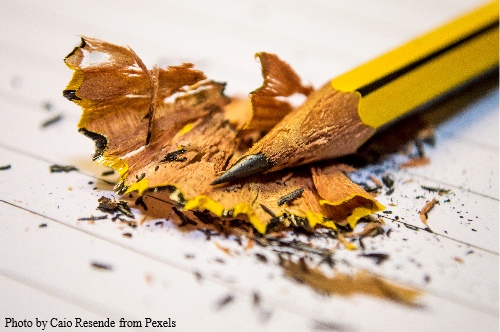
There have been many articles over the last few years reporting the fact that children are struggling to hold pencils correctly for handwriting and drawing. The reasoning for this is more often than not based on our children’s use of technology and the effect this has on their hand strength and finger dexterity (Fine Motor Skills).
Poor fine motor skills and hand strength not only affects a child’s ability to learn and develop a good handwriting style it can make other grip patterns difficult to master as well. Power, precision, stability or a combination of all three are needed by children to compete everyday tasks such as dressing, picking up and carrying objects (especially small items), using a knife & fork, other tools and scissor skills.
To help improve their overall hand and finger strength check out our games page for ideas: https://teachhandwriting.co.uk/games.html
Learning to hold a pencil in an appropriate grip is not the only grip style your child needs to develop, especially once they have started school. They will need to develop those which enable them to effectively use scissors as well as a knife and fork. If your child struggles with these activities it may be that they need to be taught how to form the grips correctly (as bad habits develop quickly and are difficult to change) or develop the appropriate hand and finger skills.
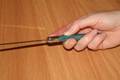
How to Hold Scissors
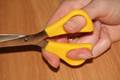
The tip of the thumb is in the top hole of the scissor handle while the tip of the middle finger is in the bottom hole. The index finger is on the bottom edge of the lower handle supporting and stabilising the scissors. The ring and little finger are curled into the palm (except if you are using large scissors as then they will fit in the bottom hole of the handle with the middle finger, to help create the cutting action).
The non-cutting hand should support the paper or item being cut; the thumb is on top of the paper and the fingers underneath, steadying and moving the paper.
How to Hold a Knife & Fork
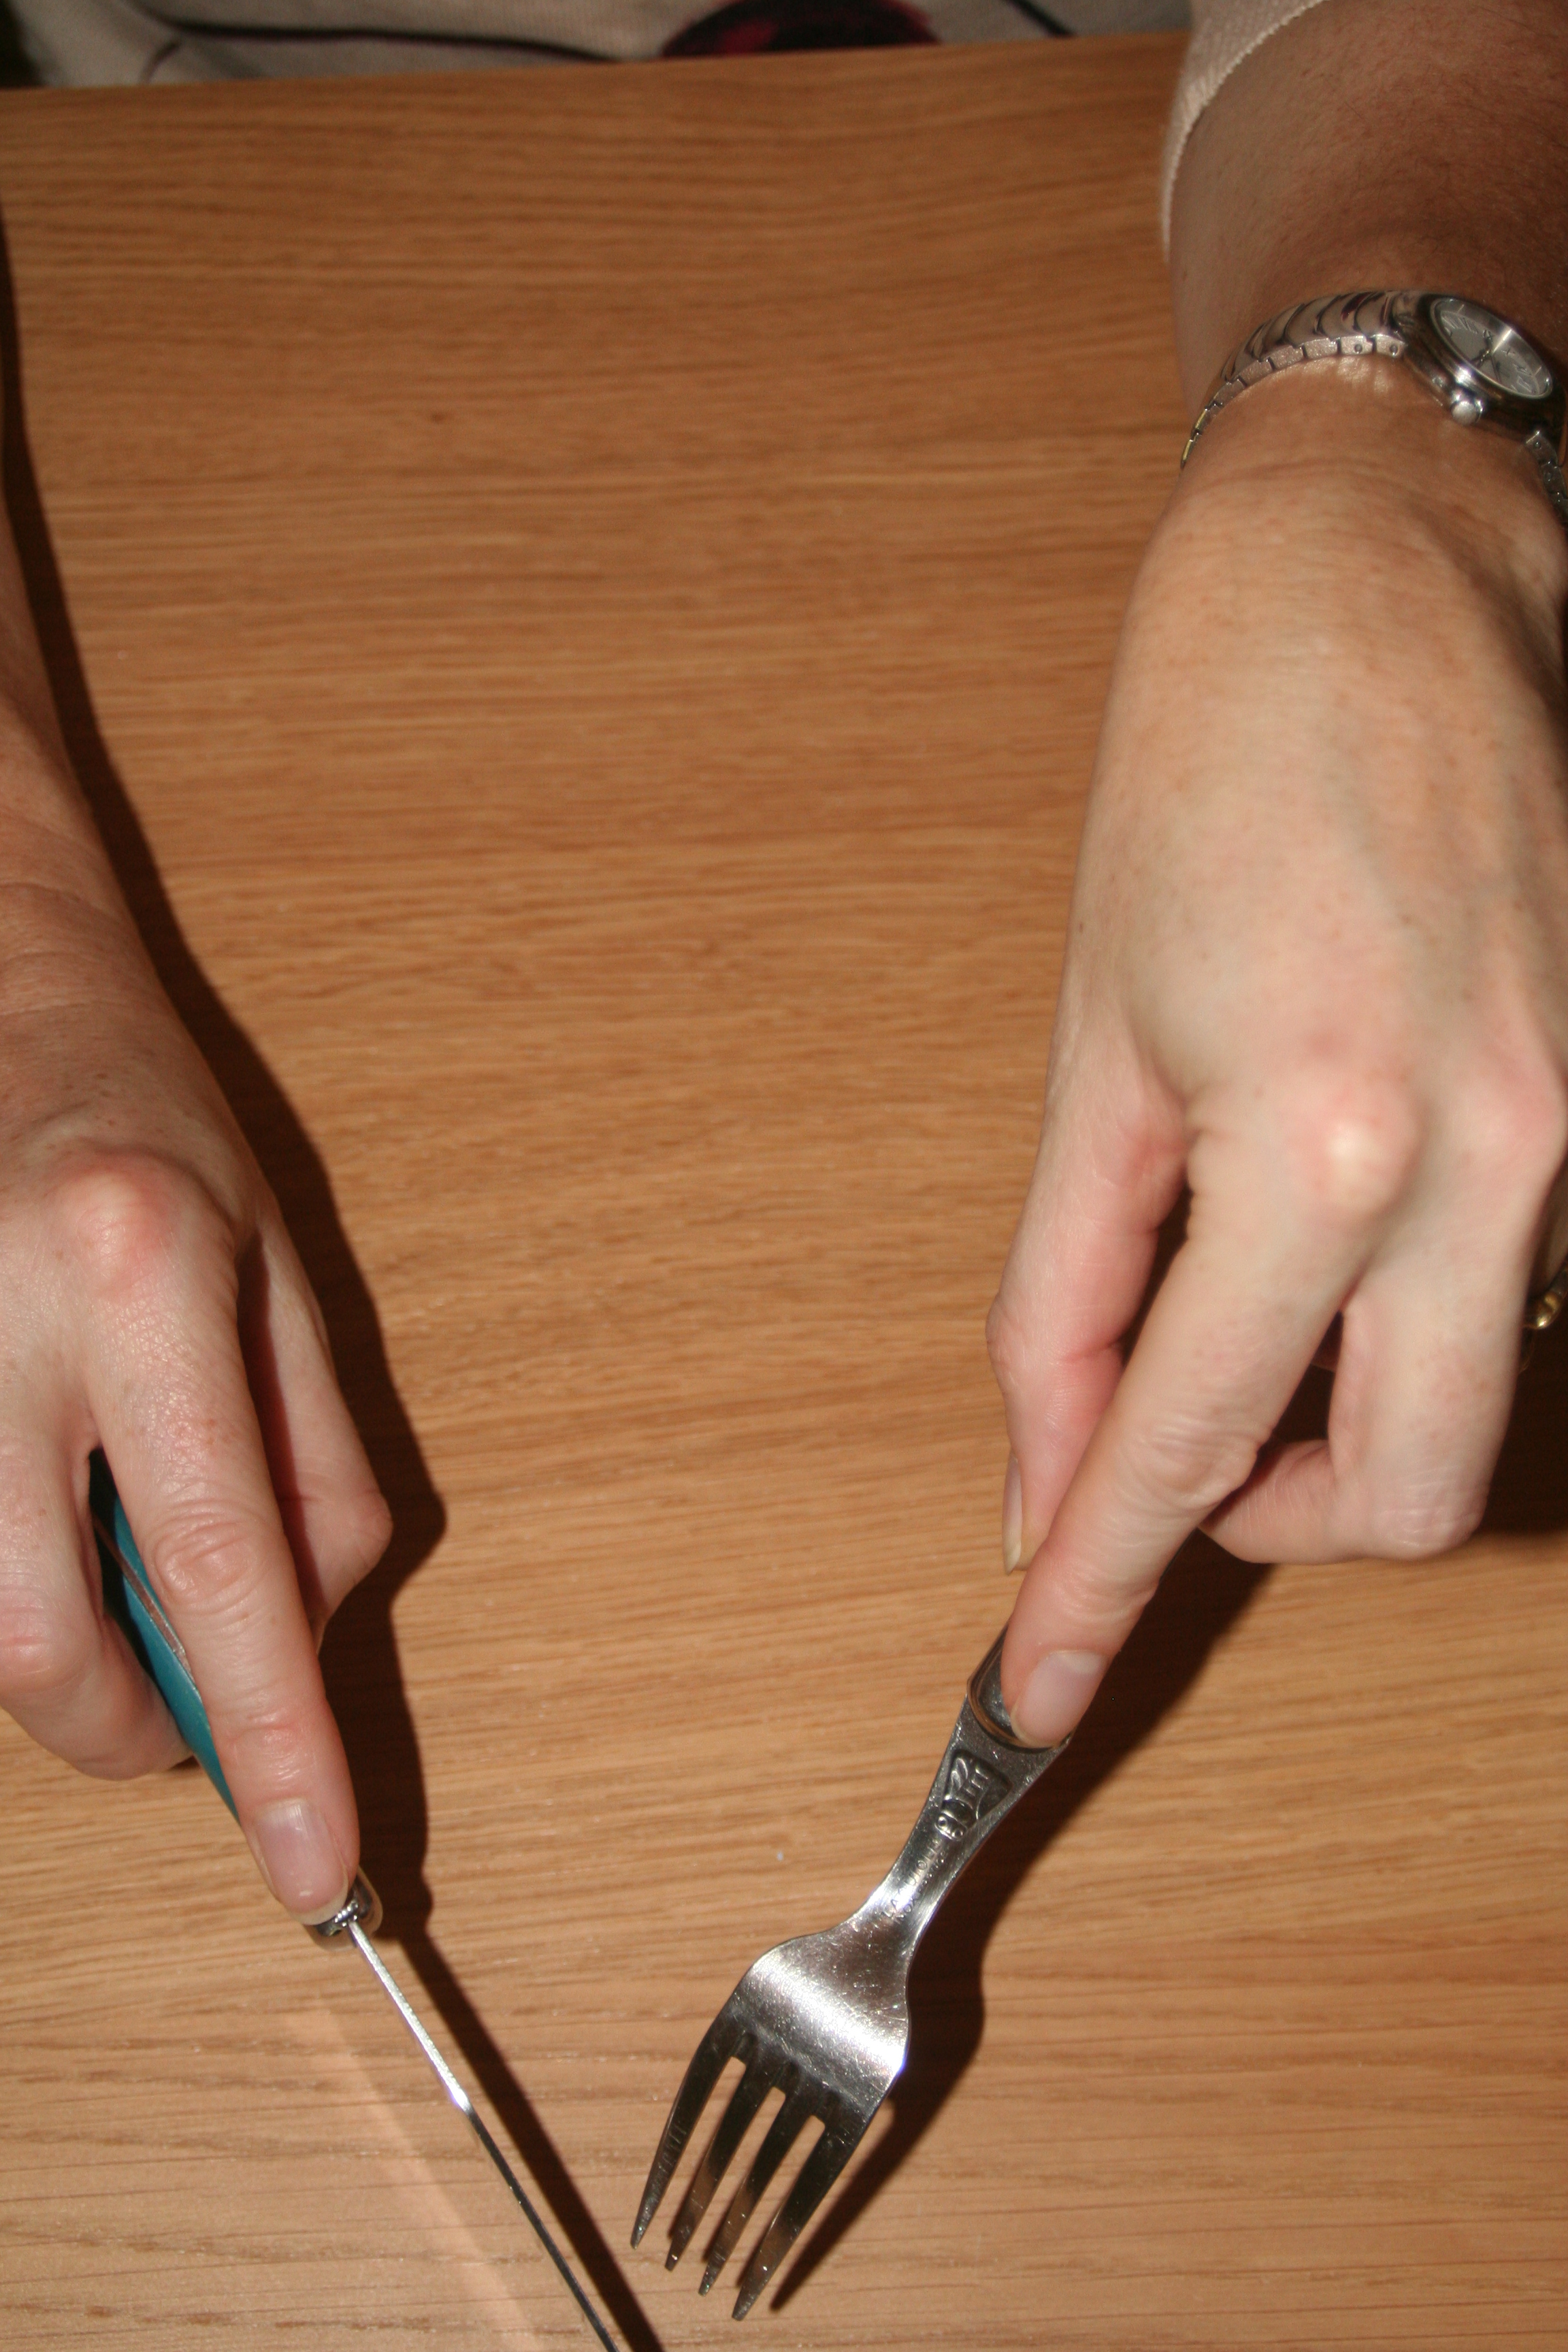
The handle of the knife or fork lies diagonally across the top section of the palm. The ring and little finger wrap around the handle, the thumb sits on the side of the handle, while the index finger sits flat and straight on the back of the handle. The middle finger curls slightly around the handle so that when the wrist twists round, so that the knife blade edge or prongs of the fork are facing down towards the plate, the handle rests on the top middle finger joint area.