The Move from Pencil to Pen

A while ago we looked at why pencils, rather than pens, are a good first tool for learning to handwrite.

Children can’t wait however for that magic day when the teacher moves them from pencil to pen. It really is a big moment and means more than just “I can write neatly”, for them it is an acknowledgement of their maturity (growing up) and a status symbol of intellect and ability in their eyes and those of their peers.

Moving from pencil to pen can have a dramatic effect on a child’s confidence and self-esteem.  I have seen how moving a child from pencil to pen can give them a new found confidence and self-belief in their own ability, because I showed my belief in them by making that gesture. They may not have had the perfect font style in pencil but moving to pen did improve their ability to form letters more freely and become more consistent in their formation.

It is difficult to put an age on when a child should move from pencil to pen because every child is different. Schools have different policies on when this should happen, with most tending to make the move at around the age of 8/9 years old. It should really depend on the child’s ability rather than their age, as well as the potential benefits the move may have to confidence and self-esteem.

It does not make sense to keep a child working with pencil until they have a perfect handwriting style because that may never happen. For many a neat, beautiful handwriting style may never be a reality.

Advantages of pens:

  • A good quality pen will give an even ink flow.
  • A more consistent hand pressure is required, helping to develop and maintain a fluid handwriting style (reducing hand strain).
  • Fibre tip and roller pens can give the same look and writing experience as a good quality fountain pen, but are far less messy (especially for left-handed people).
  • With the right pen everyone’s handwriting can look good, (I love my fountain pen for that reason).

Limitations:

  • Cheap biro pens require a lot of hand pressure and give an inconsistent ink flow (so not very different from pencils).
  • Cheap fountain pens can be scratchy and messy
  • Some schools will insist on using a particular type of pen which is not always good for all.

My tip would be to test a few pen types and weights to find out which ones your child finds the most comfortable and enjoyable to use. I realise this can be an issue if your child’s school insist on one type of pen. But if you can prove your child’s handwriting ability is great with a different style, I think it is worth talking to them about it.

Moving from pencil to pen is an important point in a child’s education, affecting their confidence and self-esteem, and like any transition stage it should be approached with thought and care.

How to improve your child’s handwriting

School Reports – Handwriting Improvements Needed!

So, the school report has been received and you have been told that your child needs to improve their handwriting.

This is all well and good, but what exactly needs improving?

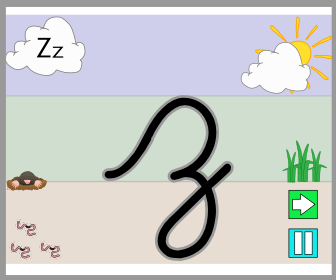
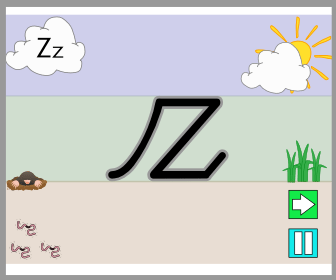
What are they finding difficult and how on earth do you write a continuous cursive z? 

So, you eventually get some handwriting practice sheets home or off the web. But no amount of time spent doing them seems to make much difference. It seemed to take longer to get them started than they spent practising handwriting. In fact they seemed worse because they were unhappy and frustrated with their own progress, so the more you try to push them the more resistant they become. Eventually you think there has to be a better way than this?

Doing more of what you are already struggling with is not always the answer. Handwriting is a complex skill to learn and there are a number of reasons why a child may be struggling.

There is a lot of information and free resources on our ‘Parent’ page which has been designed to help you: https://teachhandwriting.co.uk/parents.html

Try not to get over whelm, take things slowly and keep it simple.

Some things you might want to check and work on first before thinking about your child’s letter or join formation:

  • How are they sitting, is it a good position, it makes a difference;
  • Paper position and tilt can have a real impact especially if they are left-handed writers;
  • Are they using an efficient pencil grip for their age.

If your child is finding some or all of these elements difficult it might be that you need to work on their physical strength as well. Again, you will find information and games to help build this at the same time. And with the summer holidays coming up it is a great time for you to play games and do activities which then help them to develop the strengths and skills which may be holding them back and making handwriting a difficult task to master.

It is important to check and know which letter formations are being taught in school and that this is what you teach at home. Otherwise, you will only be causing more frustration and stress for your child.

Please note that if the letter formation being shown in the @Parent@ section is not the one being taught in school, check our @Teacher@ section of the website as you may find it there: https://teachhandwriting.co.uk/key-stage-1-handwriting-routes.html

Why do Children Fidget or Appear Bored When Handwriting?

There are two key elements that can cause a child to fidget or appear bored when handwriting, both relate to being able to sit correctly:

  1. The height of the table and chair.
  2. The child’s physical core strength.

Table and Chair Height

A poor and uncomfortable sitting position that causes a child to fidget and wriggle about affects their ability to concentrate and pay attention; for example, when listening to a teacher, as well as distracting them from the task and breaking their train of thought. It also puts unnecessary strain on the body, making sitting tasks such as handwriting more tiring.

When a child is sitting on a chair too high for them, they may sit swinging their legs, causing the body to rock slightly. They might wrap their legs around the legs of the chair to stop them aching, which is not good for their circulation and can cause them to lean back away from the table top. Some children will sit with their legs underneath their bottom which often causes them to lean too far over the table due to being off balance, once again not good for their circulation or for handwriting and other fine motor skill activities such as eating or drawing.

If a table is too high for a child, they will have their arms raised too high, causing tension in the upper arms and shoulders or they may rest their head on the table. Both have a profound effect on a child’s ability to handwrite with fluidity, comfort and for any period of time. Another result of this is a child fidgets as they try to readjust their position to get comfortable, which in turn distracts them from the task at hand. 

For tips and ideas on how to help a child develop a good sitting posture and position for handwriting check out our FAQ section of the ‘Sitting’ section on the Parent area of our website: https://teachhandwriting.co.uk/sitting-faq.html

Teachers will find useful information using this link to our website:

https://teachhandwriting.co.uk/handwriting-sitting-position-desk.html

Sitting and Core Strength

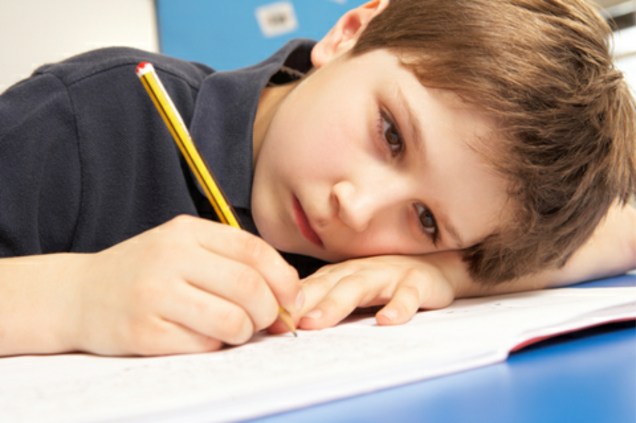
We often see children slouched over a desk, laying their head on the table or with their head propped up by their hand and arm, or fidgeting about while they are sitting at the desk writing. This can look as if they are bored and disinterested in what they are doing. However, this is not generally the case.

A poor posture position is not always due to boredom or incorrect chair and table height. For some children it is a lack of body strength or core muscle tone (the large muscle groups that control shoulder stability and the trunk of the body) that work to enable us to sit and stand upright for sustained periods of time.

We expect our children to sit at a desk for long periods of time at school. To be able to maintain a good sitting position for writing over any length of time requires good core strength. Those who lack strong core strength tend to slouch over the desk, lay their head on the desk, hold their head in their hand or pull their chair in so far that they can rest their tummy on the edge of the table to help them keep a more upright position.

This is bad for them, as it puts unnecessary strain on the body, causing neck or backache and discomfort, which in turn make them fidget as they try to get comfortable. All this can distract them from the task in hand and limit their handwriting ability as it reduces their hand and fingers movements to handwrite freely.

For more information, games and activities on developing a child’s core strengths check out our ‘Play’ section of the Parents area of our website: https://teachhandwriting.co.uk/games.html

Teachers will find useful information using this link to our website: https://teachhandwriting.co.uk/handwriting-difficulties.html

Half Term Fun – Indoor/Outdoor Circuits Ideas

Well, another half term holiday is here.  

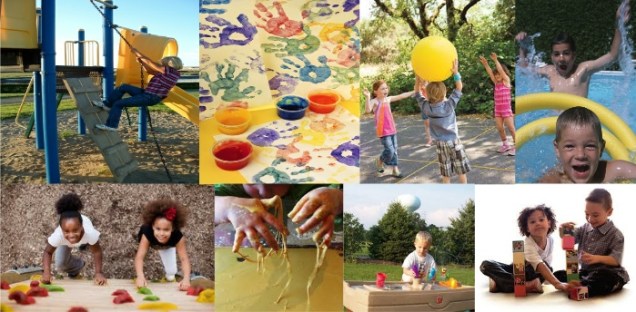
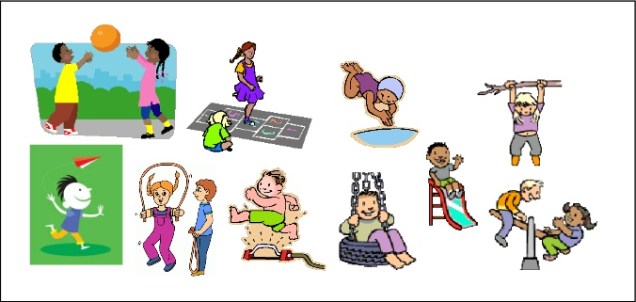
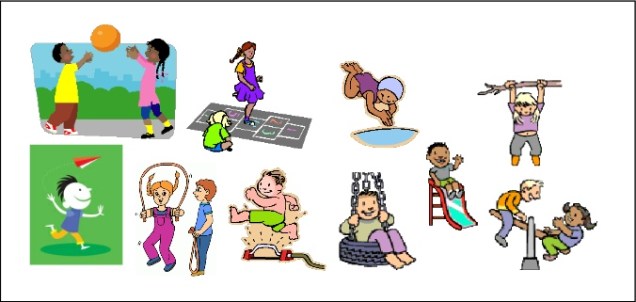
So, here are a couple of ideas to help your child burn off some of that pent-up energy. Best of all you can class it as handwriting homework (working on gross and fine motor skills).

An indoor/outdoor circuit training course does not have to take up much space or be messy (but it might be a good idea if indoors to move ornaments a little further out of the way).

Simple activities can be fun if they are done for short periods of time and children do love a time challenge. Make each activity last anything from 30 seconds to 1 minute.

You could record how many they did in the time and see if they have improved when you try it again.

Why not try:

  • Hopping on one leg and then the other (balance & coordination)
  • Use the bottom step of the stairs for step ups (bilateral coordination)
  • Curl ups (Core strength)
  • With a cushion balanced on their head can they touch their toes without dropping the cushion (balance, coordination, bilateral coordination and core strength)
  • Star Jumps (balance & coordination)

It is amazing how much fun you can have just hopping, jumping, skipping and dancing on the spot.

If the weather is fine then set out a bike or skateboard track for racing. When out on a bike ride (if safe to do so) have mini time trials on the flat or up hills.

If you are feeling really brave why not try building an obstacle course, a lot of the fun is in the designing and making. It is amazing the communication and language skills required as well.

Let go and have fun!!!

Spring/Easter Drawing Activity Ideas – Supporting Language & Pre-handwriting Pattern Development

It’s the Easter holiday break!

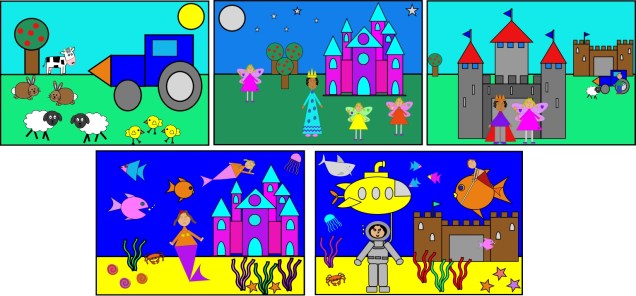
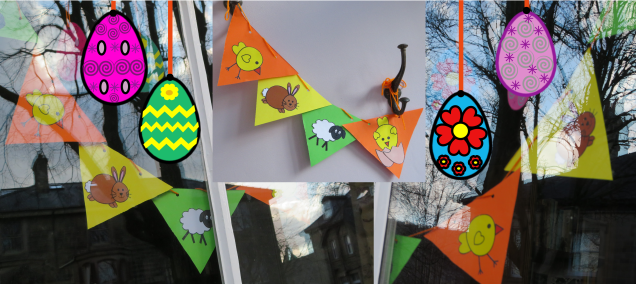
We have put together some quick step by step Easter and farm drawing ideas for you to try, using basic shapes such as circles, rectangles and triangles. It is amazing how, by using these simple shapes, you and your child can create fantastic Spring/Easter: cards, pictures mobiles or bunting. Just follow this link and scroll down the page: https://teachhandwriting.co.uk/more-activities.html

Drawing pictures is a great way to help your child develop their pre-handwriting strokes and shape forming skills. As well as supporting shape, colour, pattern and language development.

Treasure Hunts Develop both Handwriting & Language Skills

The Easter Holidays are here, so here are some fun activities to keep children of all ages entertained whether we have rain or sunshine.


A treasure hunt is a great way to teach children directional language. Being able to understand directional and placement (prepositions) vocabulary is important for understanding everyday instructions such as ‘put your cup on the table’; ‘go along the hall and stop at the door in front of you’.
We also use this directional language to explain how to draw patterns and write letters, which is another reason why it is important for young children to be introduced to, and have a good understanding of, this kind of vocabulary.


Through treasure hunts you can introduce new directional and placement language in a fun and exciting way. There are a number of different ways to approach this:


• You can give verbal instructions to the hidden treasure.
• You could create a map for them to follow and ask them to talk you through the map, supporting them with new language as necessary.
• You could use a mixture of verbal and map clues.
• For older children get them to hide the treasure and give you instructions, or draw a map.
• If you have more than one treasure and they are of different sizes make the larger ones more difficult to find.


The important thing is the language shared. Words and phrases to use are: left, right, straight on, forward, backwards, about turn, turn around, up, down, higher, lower, stop, next to, in front, beside, underneath, on top of, behind, on the left of, on the right of, outside, and inside.
Treasure hunts are a great whole family activity and you are never too young or too old to join in!

Warm up for #Handwriting!

Before starting to work on letter formation, joins or even the pre-handwriting patterns it is a good idea to help focus your child’s body on the activity that it is about to be performed in a fun and relaxed way.

The exercises only take a couple of minutes to do. Not only can they be done at the beginning of the session but throughout and at the end to help relax muscles and release tension that may build up over the session. Tense muscles can make handwriting activities difficult and tiring for your child.

They are fun to do, which usually brings a smile and often laughter, an added tonic to any learning experience.

Five areas to support the body with handwriting are covered in the warm up exercises:

  1. Shoulder stability and strength
  2. Crossing the mid-line
  3. Wrist strength and flexibility
  4. Thumb and finger strength and dexterity
  5. Whole hand strength and dexterity

For more information go to our teach handwriting website here is a direct link to the warm up page:  https://teachhandwriting.co.uk/warm-ups.html

Half-term Fun – Clothes Peg Games

Some fun indoor activities may be the order of the day for this half term as the weather is not so hot.

This is a very simple idea which children love because they can take greater ownership of it. The aim of the activity is to help build up hand and finger strength through using the pegs; however, it can have a dual purpose, helping to keep track of the week by using it as a timetable or for learning spellings or maths activities, as well as supporting the development of language skills.

You do not need anything fancy, just some string (for the washing line), clothes pegs and pieces of paper or card to peg onto the washing line. The washing line can be a permanent fixture or you can just pop it up when you need to use it.

The clothes line needs to be at a height suitable for your child to peg things on to (placed against a wall is a safe option so that no-one can walk into it by accident and hurt themselves).

There are a whole range of games that can be played using this simple washing line and pegs concept:

Memory games – Get your child to peg up 5 to 10 different pictures or items on the line. Then give them 1 minute to remember the items. Once the time is up ask them to look away, or close their eyes, and then you remove one or more of the items. Get them to look back at the line. Can they work out what is missing?

  • You could try just moving one or two of the items around. Can they figure out which ones are in the wrong place and put them back in their correct place?
  • Try swapping an item for something new, which your child did not hang up on the line. Can they work out which is the new item on the line?

Odd One Out – Hang pictures on the line that belong together. Can they pick out the odd item on the line and explain why it is the odd one out.

  • They could all be pictures of fruit with a picture of some clothing
  • They could be shapes with straight sides and one with curves
  • They could all be animals but all are wild with only one being domestic

Sorting – Ask your child to sort all the pictures or items from a selection and to hang all the identical things on the washing line. They could all be the same;

  • Colour
  • Shape
  • Type

Pattern Work – Using pictures, different colour and shaped paper or items create different patterns. The patterns can be based on colour, size or type of object. You can create a pattern sequence on the washing line and then ask your child to try and copy the sequence. Can they explain the pattern and create their own for you to copy and explain?

Pairing or What is the Same? – Hang a range of pictures or items on the line, making sure that some of the items can be paired together because they are exactly the same. They could match because;

  • They are exactly the same e.g., a pair of socks
  • Match numbers to a picture with the same number of items on
  • Match capital to lower-case letters
  • Or have items that can be put together because they are both from the same set, for example they are types of fruit or are the same colour.

Vertical to Horizontal Surfaces for Handwriting

Young children, due to the stage of their physical development, draw from the shoulder rather than the elbow and wrist using large arm movements. At this stage they often prefer vertical drawing and painting surfaces as it allows a free range of movements. This is often why young children will write on walls, not because they are being naughty but because it just feels comfortable and so more enjoyable.

Drawing and writing on a vertical surface is important at this stage; as it helps young children develop the wrist strength and flexibility, they will need later on to hold a pencil correctly for handwriting.

The jump from a vertical to a horizontal writing surface can seem too great for some children; due to their stage of development. These children may benefit from the paper being positioned on a sloped board.

If you are not sure whether a child needs a sloped board for handwriting, instead of buying a specialist board, you could make one. Try using a ring binder or lever arch file stuffed with magazines and newspaper to make a sloped board. Tape the edges to stop the papers falling out; you could cover it in sticky back plastic to give a smoother finish to the board. The advantage of this is that you can make them to any angle of slope. Try a few to see which, if any, the child prefers.

A homemade sloped board is just as effective as a bought one. Often a child only requires one for a short amount of time and quickly moves to writing on a horizontal surface. For a few children a sloped surface may be required for a few years, or indefinitely, in which case a purpose bought sloped writing board is a sounder investment.

The Right Handwriting Tool for the Job!

As with learning any new skill the right tool at the right time can make a real difference to the whole learning experience as well as the outcome. Learning to handwrite is no different.

Young children due to their gross and fine motor skills ability require chunky shafted tools so that they can grip them effectively. This means they have a greater control over the tool and can achieve a more satisfactory outcome. If they are using a tool that is too thin, they will find gripping it difficult and have to keep changing their grip. They will have less control of the tool making the experience disappointing at best and discouraging at worst.

To help young children to store patterns and letter shapes formation into their motor memory it is important that the tools used provide a resistance rather than one that flows effortlessly over the writing/drawing surface. The greater the resistance the more the body can neurologically acknowledge (feel) the movement and help to send appropriate information to the brain.

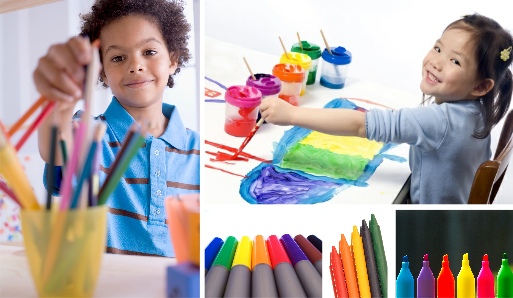
Some of the best tools for young children to begin learning to draw patterns, shapes and correctly write letters:

  • Chalk on boards, walls or paths
  • Flip chart pens or large felt tips on course paper such as sugar paper
  • Using appropriately sized paint brushes on course paper or surfaces
  • Finger painting or finger drawing in sand, paint or cornflour mix
  • Finger tracing and then trying to draw the pattern, shape or letter straight afterwards.
  • Try chalking the shape or letter onto a blackboard and have the child use a damp sponge to wipe it off again (make sure the child starts in the correct place and moves correctly around the shape or letter to the correct finish point).
  • Appropriately sized crayons and pencils on course paper or card (non-shiny side of cereal boxes and corrugated card can be good fun and different to use).

As children begin a more formal approach to learning to form their letters correctly then appropriately sized and lead grade pencils are the best tool for the job. Pencil come in all widths, lengths and shapes. The key is to find the style of pencil which best suits the child and their stage of pencil grip development. Remember one size doesn’t fit all!

When a child has learnt to join their letters and has a good and consistent letter size and places all their letters on the writing line correctly in relation to each other, then it maybe they are ready to be moved to pen. It is important before moving a child to pen that they are writing with speed (appropriate for their age) and fluidity (comfortable writing all the letters of the alphabet lower and upper-case correctly). A child whose handwriting is slow and laboured may need additional support and time before being moved on to pen.