Here at Teach Children Ltd we feel this a good definition of an efficient pencil grip for handwriting:
“A pencil hold that provides speed, legibility is comfortable and will not cause harm to the joints of the hand over time. If a hold satisfies these criteria there is no need to change it”
(Benrow 2002, cited: Foundation of Paediatric Practice for the Occupational Therapy Assistant, 2005)
The above publication, and those listed at the end of the articles, explain that there are three efficient pencil grips for handwriting:
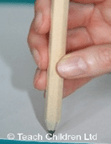
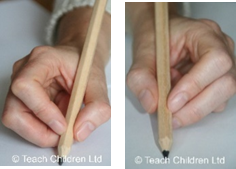
1. The Dynamic Tripod Grip (https://teachhandwriting.co.uk/teaching-tripod-pencil-grip.html), is still the most appropriate grip for handwriting (‘Drawbridge Flip’ method), for those with good fine motor skills, as it allows the fingers to move freely; so, the writer can form the letters more smoothly.
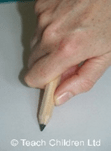
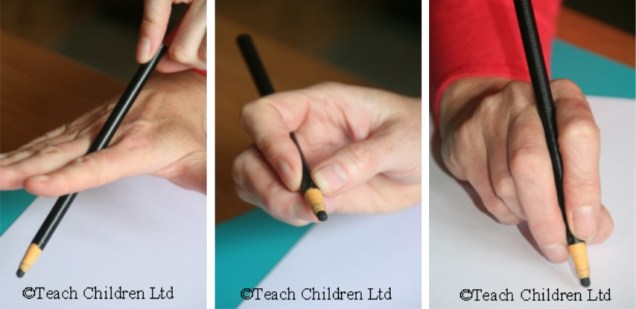
2. The Quadrupod Grip (stage 4 of pencil grip development – https://teachhandwriting.co.uk/pencil-grip-development-foundation-stage.html), this grip is a little more restrictive because the fingers cannot move as freely as they would if using the Tripod grip.

However, if the child is complaining that their hand or fingers hurt or ache when they use the Quadrupod Grip, or that it is hindering their handwriting fluidity and speed, then we do need to support them in changing their grip. For some it may be more appropriate to introduce them to the Adaptive Tripod Grip rather than trying to force them to use the Dynamic Tripod Grip.
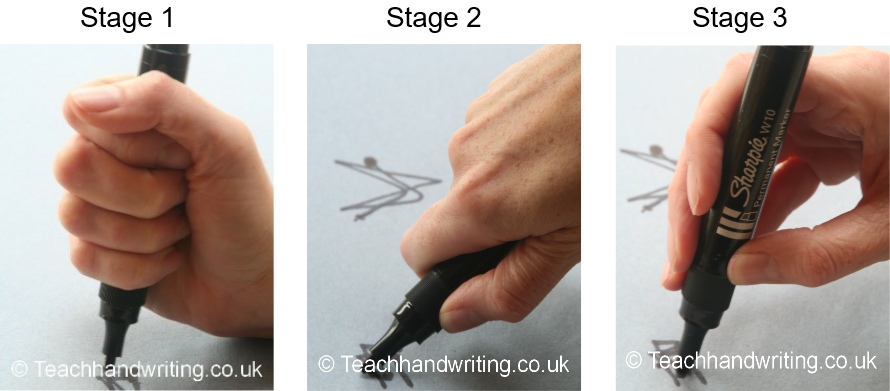
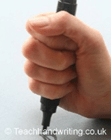
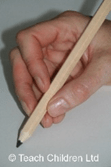
3. The Adaptive Tripod Grip (https://teachhandwriting.co.uk/adaptive-tripod-grip.html) , developed by the Belgian Neurologist Callewaert in 1963 (cited, Ann-Sofie Selin 2003) is a functional though not conventional grip for handwriting. This grip is often more appropriate to use with children who have low muscle tone or hyper mobility of the finger joints. It can also benefit older children who continue to hold a pencil too tightly, or who hold the pencil lightly using just their fingertips (often writing using whole arm movements), as well as those children who hold a pencil with their thumb wrapped around and across the pencil and index finger.
Changing to the Adaptive Tripod grip is not a quick fix for children who have poor hand and finger strength. These strengths still need to be developed to make handwriting more comfortable.
Bibliography
Ann-Sofie Selin, 2003: Pencil Grip A Descriptive Model and Four Empirical Studies; Abo Akademi University Press
A Wagenteld, J Kaldenberg (co-editors), 2005: Foundation of Paediatric Practice for the Occupational Therapy Assistant; Pub: Slack Incorporated, ISBN-10:1-55642-629-1
Web-sites:
https://www.ot-mom-learning-activities.com/correct-pencil-grasp.html