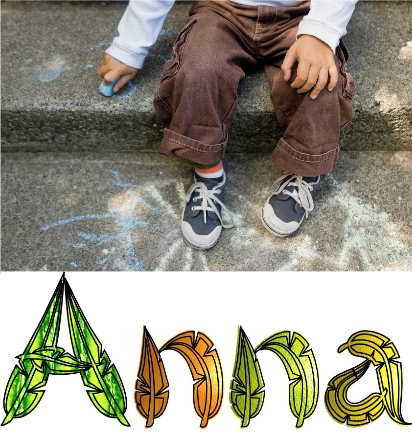
Crayoning and printing activities are great ways for a child to experience and experiment with pressure and the amount needed to create different effects. These activities will also encourage and support a child in helping them to understand, and for you to model, the language associated with pressure and how the pressure used feels. By linking the words used to the feelings and the outcome of using the pressure they can start to understand what is needed when asked to press gently or to press harder.
When supporting a child to understand what we want when we ask them to press harder, we need to model how our body reacts to make this happen. You may need to exaggerate the actions but as you do this you also need to talk about what your body is doing and how it feels. Then point out the effect that this has had on the crayoning for instance.
When we press hard, we tend to lean our body forward over the table slightly as this allows us to put more force down on to the paper through the crayon. We may feel our arm and hand tense and often the movements made are slower and in small strokes. If it is something we are not used to doing it can make our hand and fingers ache and it will feel like hard work. The crayon marks will be thick and dark.
When we want to be gentler with the crayon, so that the crayoning is lighter in texture and colour, we tend to sit back away from the table. This way the hand moves across the paper more easily and often the strokes are longer and quicker, which sometimes feels as if we have less control over the colouring. This is why young children tend to be a bit heavy handed initially with colouring because their fine motor control skills have not reached a point that enables them to have control.
There are many creative ideas to be found on the internet and in books published by companies such as Usborne.
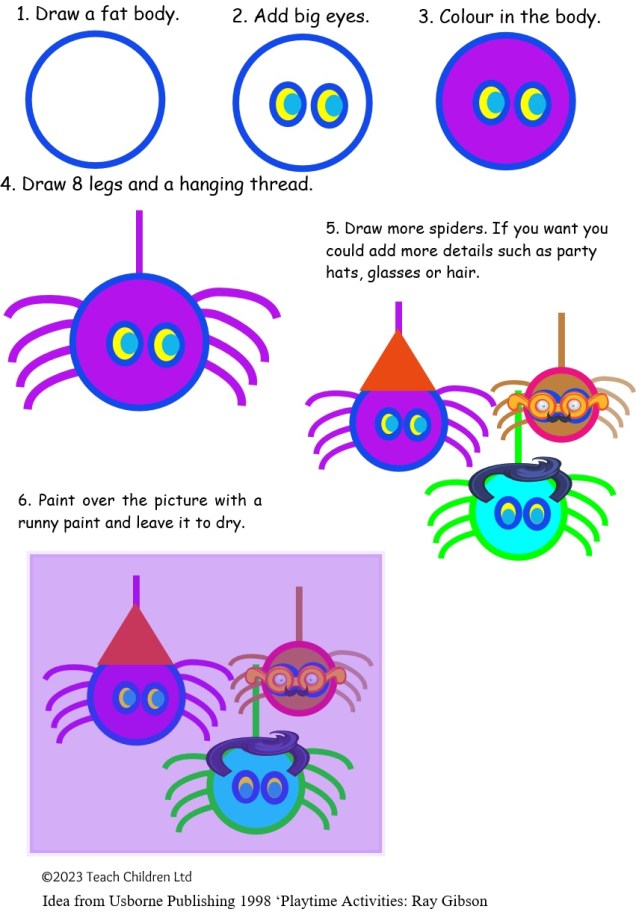
This crayon technique can be used to create a vast range of pictures. Here are just a couple of ideas to get you started:
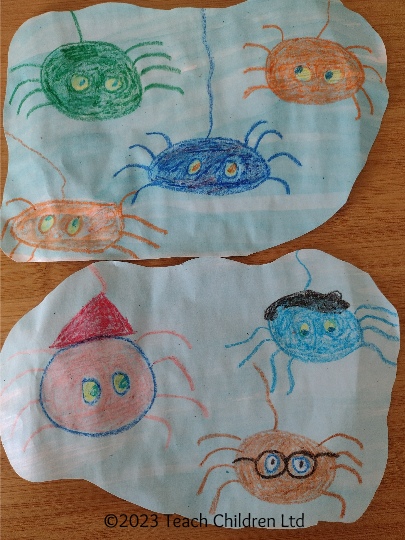
Spider Party Time:
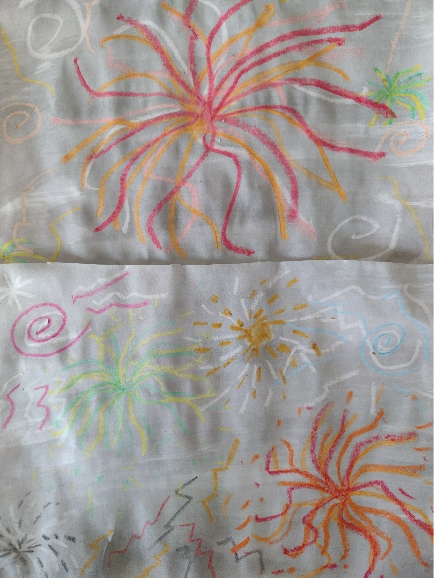
The same technique can also be used to create great firework pictures:
It is also worth remembering that drawing also helps to develop a range of different line formations, also needed for developing a good handwriting style.
Have FUN!