How to improve your child’s handwriting

School Reports – Handwriting Improvements Needed!

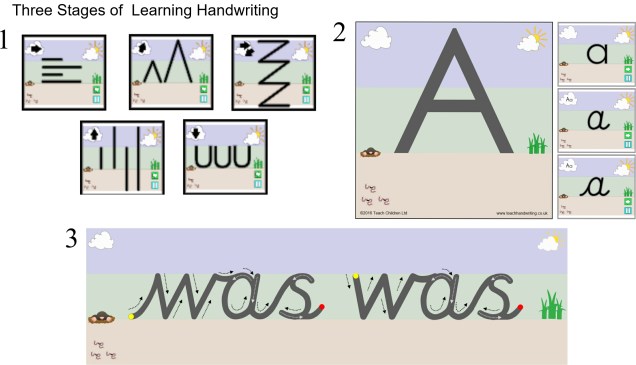
So, the school report has been received and you have been told that your child needs to improve their handwriting.

This is all well and good, but what exactly needs improving?

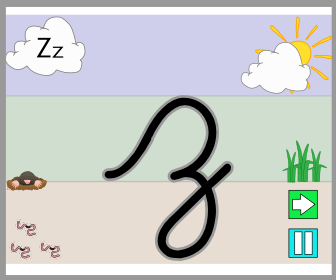
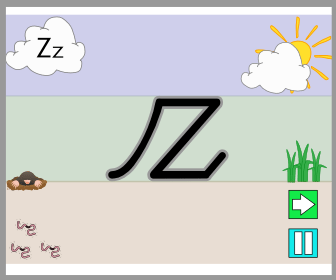
What are they finding difficult and how on earth do you write a continuous cursive z? 

So, you eventually get some handwriting practice sheets home or off the web. But no amount of time spent doing them seems to make much difference. It seemed to take longer to get them started than they spent practising handwriting. In fact they seemed worse because they were unhappy and frustrated with their own progress, so the more you try to push them the more resistant they become. Eventually you think there has to be a better way than this?

Doing more of what you are already struggling with is not always the answer. Handwriting is a complex skill to learn and there are a number of reasons why a child may be struggling.

There is a lot of information and free resources on our ‘Parent’ page which has been designed to help you: https://teachhandwriting.co.uk/parents.html

Try not to get over whelm, take things slowly and keep it simple.

Some things you might want to check and work on first before thinking about your child’s letter or join formation:

  • How are they sitting, is it a good position, it makes a difference;
  • Paper position and tilt can have a real impact especially if they are left-handed writers;
  • Are they using an efficient pencil grip for their age.

If your child is finding some or all of these elements difficult it might be that you need to work on their physical strength as well. Again, you will find information and games to help build this at the same time. And with the summer holidays coming up it is a great time for you to play games and do activities which then help them to develop the strengths and skills which may be holding them back and making handwriting a difficult task to master.

It is important to check and know which letter formations are being taught in school and that this is what you teach at home. Otherwise, you will only be causing more frustration and stress for your child.

Please note that if the letter formation being shown in the @Parent@ section is not the one being taught in school, check our @Teacher@ section of the website as you may find it there: https://teachhandwriting.co.uk/key-stage-1-handwriting-routes.html

Teaching Letter Joins – A Systematic Approach

We would recommend teaching joins in join type groups, whether your child has learnt cursive or continuous cursive single letter fonts.

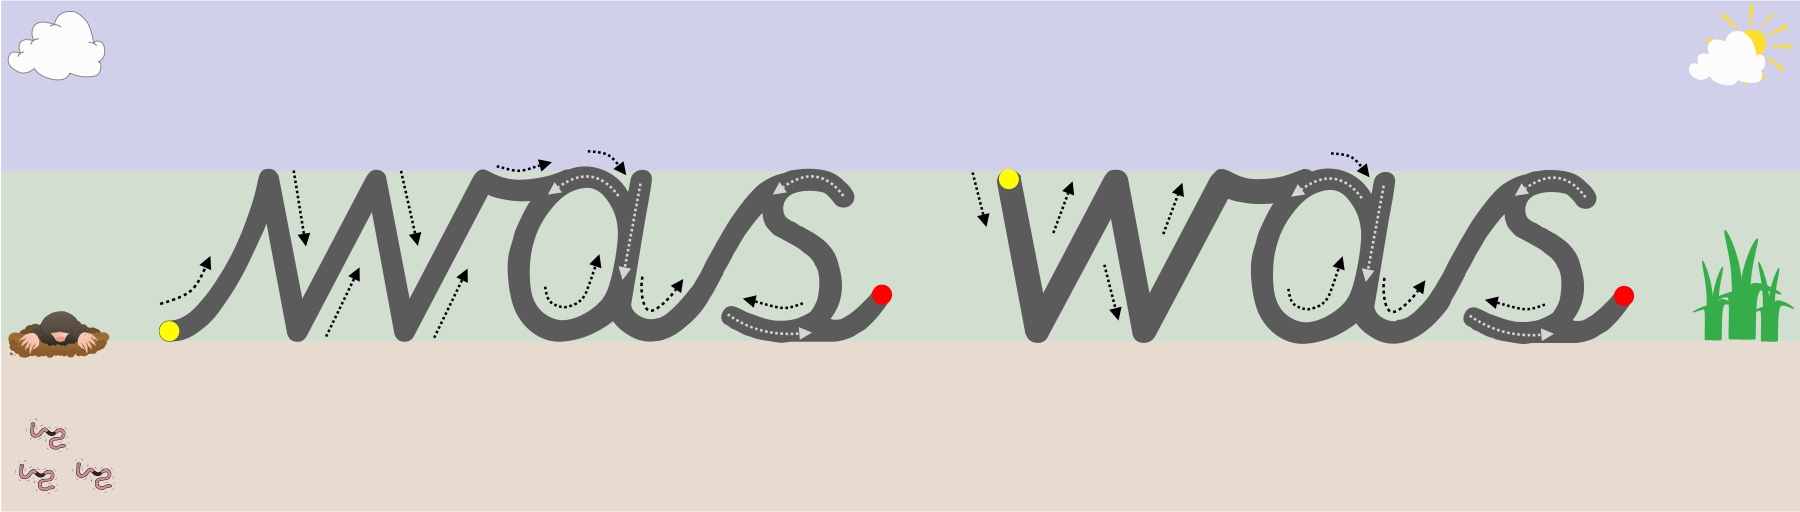
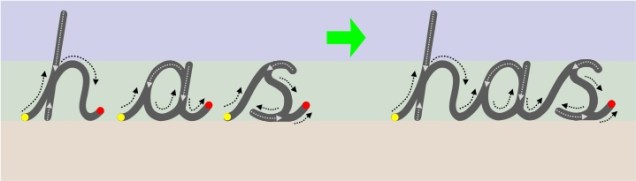
Teaching the join types in their groups helps a child to understand the directional pushes and pulls required to successfully join the different letter combinations.

There are 4 main groups of letter joins; bottom joins, bottom to “c” shape joins, “e” joins (top and bottom join strokes) and top joins.

Moving from Cursive Single Letters to Joining

There are seven join strokes to be taught. Most children will find the bottom joins the easiest to achieve, as it only requires the extension of the exit stroke they already put on the letters. The bottom to “c” shape joins can be tricky at first but soon mastered. The joins that tend to cause the most confusion and difficulty are the “e” joiners and top exit joiners.

I would recommend teaching the bottom joins first, then the ‘e’ joins and finally the top exit letter joins.

Moving from Continuous Cursive Single Letters to Joining

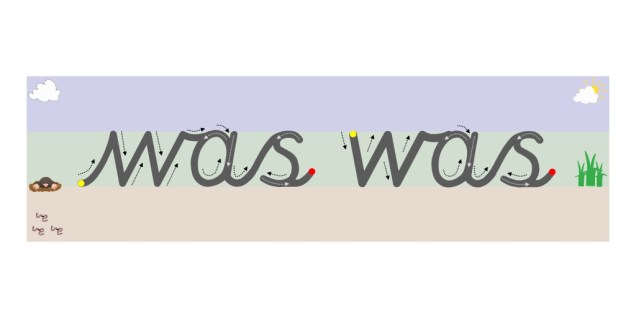
There are three join strokes to be taught. The easiest is the bottom exit letters (the majority of the letters), all a child has to do is write the letters closer together without lifting their pencil off the paper. Only the top to “e” and top joiners need to be taught for continuous cursive, as the nature of the font style means that the lead-in and exit strokes needed to join the majority of letter combinations have already been taught.

I would recommend teaching the bottom joins first, then the top exit to ‘e’ join and finally the top exit letter joins.

The ultimate aim is for a child to develop a good handwriting style; which means;

•     They can produce and maintain a good speed

•     Have a fluid hand movement that is comfortable

•     Letters are of a consistent and appropriate size, positioned correctly

•     Handwriting is legible (so others can read it easily).

It is important to remember that for some children (mainly SEND pupils) this may mean that they will always print or use a single letter form of writing as learning to join is just not appropriate. But that does not mean they will not comply with the bullet points above.

Have you got your Free Join Animations & Worksheets?

For Teachers: https://teachhandwriting.co.uk/key-stage-2-handwriting-routes.html

For Parents: https://teachhandwriting.co.uk/parents.html
Stage 3 to #Handwriting Success – Joining

Here at Teach Children we believe that a child is only ready to start learning to join their handwriting when:

  • They have learnt to form all 26 single lower-case letters correctly.
  • Letters are of a consistent and suitable size (not necessarily the perfect size, remember big is beautiful).
  • Letters are positioned appropriately on the writing line as well as in relation to one another.

The “Department of Education; The writing framework: July 2025; page 33; https://www.gov.uk/government/publications/the-writing-framework , for Year 2 states:

“Joined handwriting should not be taught until pupils can form these unjoined letters (print forms) correctly and consistently.”

This suggests that schools need to ensure children can write all their letters in a print from before moving to a single letter cursive or continuous cursive joining form. This view is further supported on page 34 where it states:

“There is no expectation that schools teach lead-ins for joined handwriting from the start and the national curriculum does not require this, but some schools continue to do this. If they do so, they should also consider teaching unjoined handwriting for specific tasks, such as labelling a diagram or data, writing an email address, or for letters in algebra.”

I don’t believe this is something new, just a reminder of the handwritten convention for labelling and mathematical notation.

Children generally begin to learn how to join letters between the ages of 6 to 7 years old, depending on the handwriting font style being taught. Those taught a continuous cursive font style for instance will tend to join much earlier due to the nature of this font.

Children do not need to be able to remember how to correctly form all their capital letters before they are taught how to join their letters. This is because capital letters never join to the lower-case letters in a word. However, for these children correct capital letter formation needs to be taught alongside the introduction of letter joins.

We would recommend teaching joins in join type groups, whether your child has learnt cursive or continuous cursive single letter fonts.

Teaching the join types in their groups helps a child to understand the directional pushes and pulls required to successfully join the different letter combinations.

Have you got your Free Join Animations & Worksheets?

For Teachers: https://teachhandwriting.co.uk/key-stage-2-handwriting-routes.html

For Parents: https://teachhandwriting.co.uk/parents.html