#Christmas Finger Printing a Fun Way to Support Handwriting

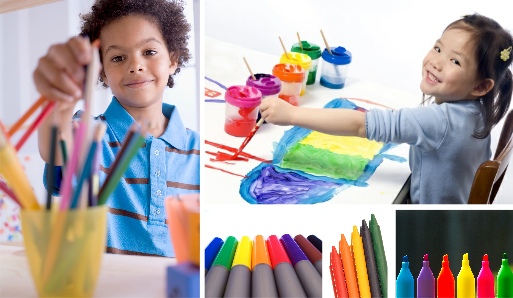
Hand and finger printing can be a fun way of getting your child used to touching and using different textured mediums. The creative element can help some children to cope with, and learn to overcome, some sensory tactile defence difficulties. Being happy holding objects allows them to hold a pencil comfortably, leading to better handwriting.

Handwriting requires a child to apply the right amount of pressure to get the pencil marks of the letters on to the page. Too little pressure and the writing is often faint and wriggly in appearance (like a spider has walked across the page). Too heavy and the marks are very dark and can tear the paper; often the writing looks big, angular and laboured. Not being able to apply the correct pressure also affects how a child holds the pencil, which can cause the hand and fingers to tire more quickly, making writing tasks challenging.

Printing activities help your child to start to become aware of how to control the amount of pressure they use and the effect that this has on the quality of the work produced. Learning to control the amount of pressure exerted and how it feels can be very difficult for some children and it takes time and a range of experiences to develop these skills.

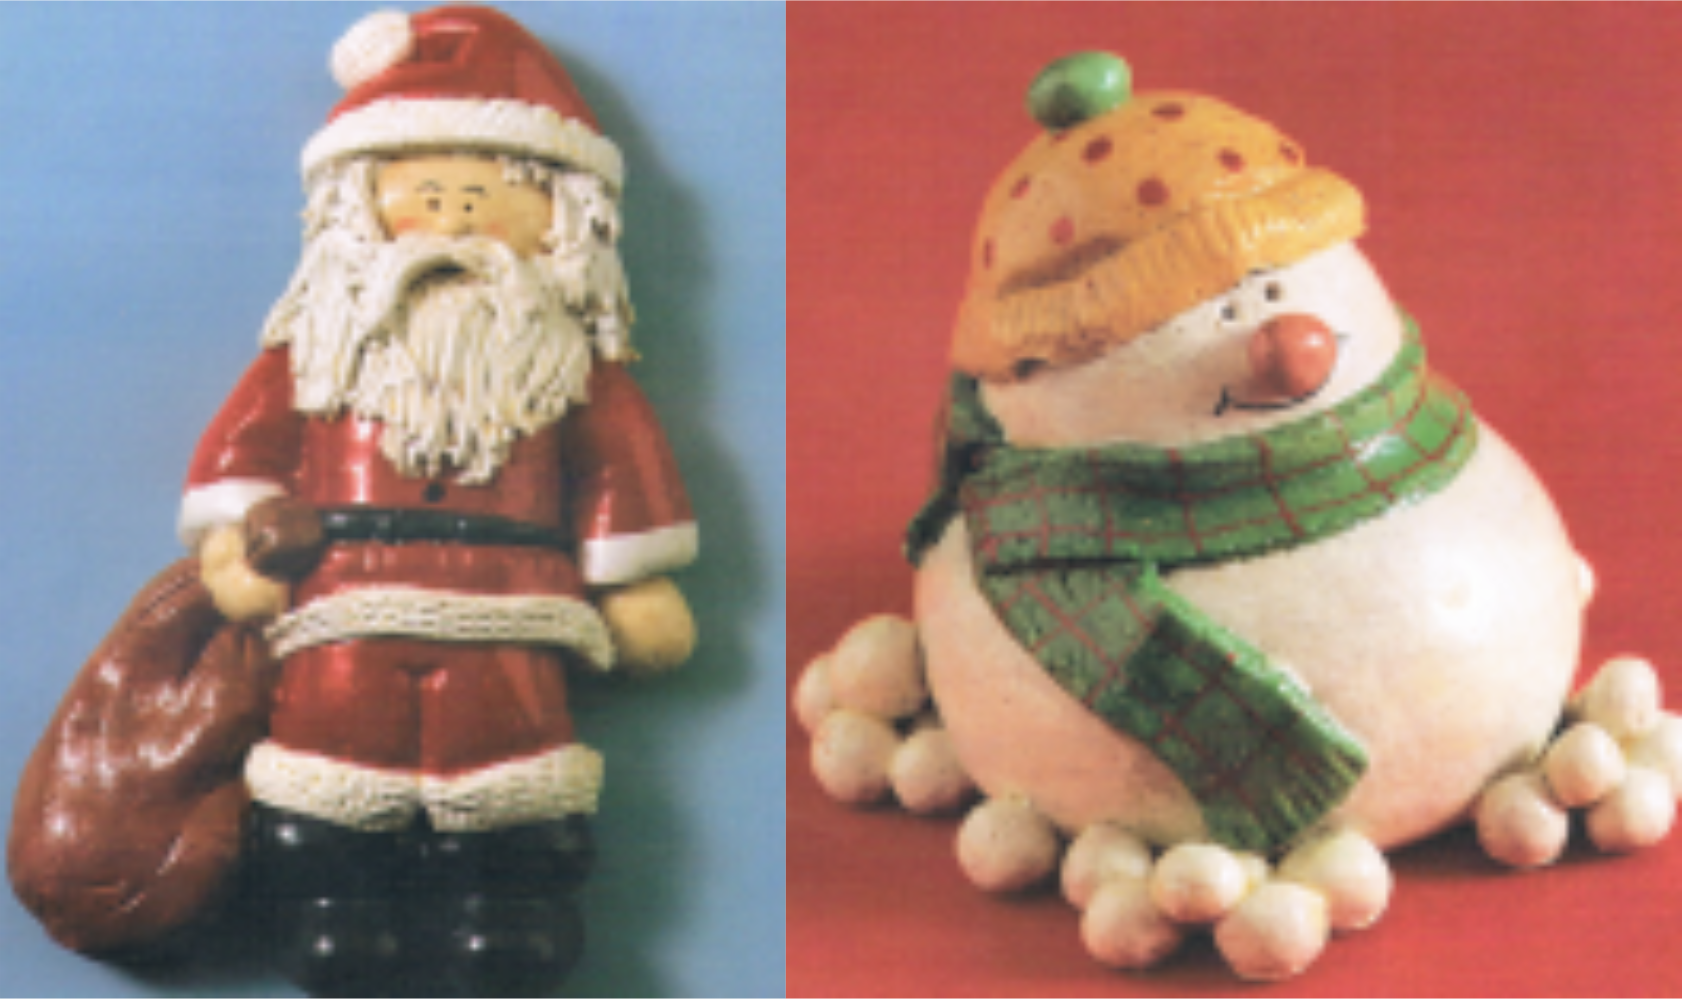
There are some fabulous printing ideas out on the internet; one of my favourite art resources is The Usborne Art Idea Books. Hand and finger printing can create some amazing artwork which can be used to make wonderful personalised Christmas cards, tags and paper.

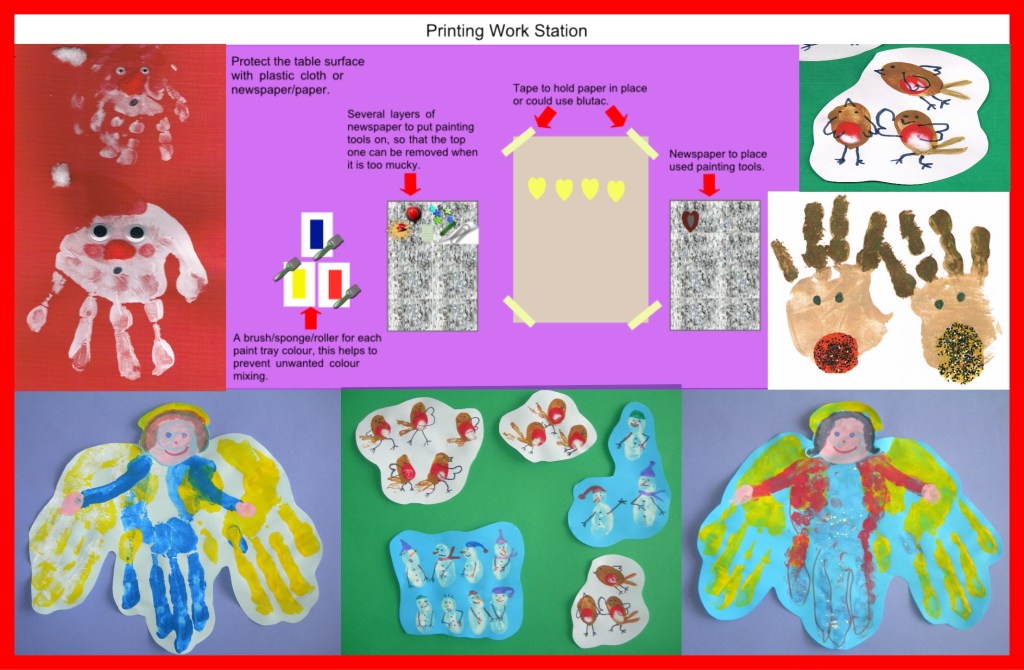
Who could not be charmed by these fun thumb and fingertip snowmen or robins or delighted by a hand print angel?

For other useful tips on printing and setting up a printing work station (http://bit.ly/35Z7pWQ), check out our ‘More fun handwriting activities’ in our Resources section: http://bit.ly/2kyeo3w

Christmas Fun That Develops Handwriting Skills and No Pencil!

Salt Dough 1

Handwriting skills don’t start with pencil and paper they begin with earlier play opportunities. Using play-dough type modelling materials is great for developing hand and finger strength, bilateral coordination, sensory perception and for learning and perfecting different grips for using tools.

Salt Dough

So, why not make some great salt dough Christmas gifts and tree decorations with your child. Not only will they melt the hearts of those who receive them but you will be developing your child’s fine motor skills (needed for good handwriting) while having fun, can’t be bad!

Go to our ‘More fun handwriting activities’ page (http://bit.ly/2kyeo3w ) in our Resources section for a salt dough recipe, that I have found good to use with children, and just download the ‘Salt Dough Modelling’ pdf (http://bit.ly/2Y9pVcn ).

The Right Handwriting Tool for the Job!

writing tools 2

As with learning any new skill the right tool at the right time can make a real difference to the whole learning experience as well as the outcome. Learning to handwrite is no different.

Young children due to their gross and fine motor skills ability require chunky shafted tools so that they can grip them effectively. This means they have a greater control over the tool and can achieve a more satisfactory outcome. If they are using a tool that is too thin they will find gripping it difficult and have to keep changing their grip. They will have less control of the tool making the experience disappointing at best and off-putting at worst.

To help young children to store patterns and letter shapes formation into their motor memory it is important that the tools used provide a resistance rather than one flow effortlessly over the writing/drawing surface. The greater the resistance the more the body can neurologically acknowledge (feel) the movement and help to send appropriate information to the brain.

Some of the best tools for young children to begin learning to draw patterns, shapes and correctly write letters:

  • Chalk on boards, walls or paths
  • Flip chart pens or large felt tips on course paper such as sugar paper
  • Using appropriately sized paint brushes on course paper or surfaces
  • Finger painting or finger drawing in sand, paint or cornflour mix
  • Finger tracing and then trying to draw the pattern, shape or letter straight afterwards.
  • Try chalking the shape or letter onto a blackboard and have the child use a damp sponge to wipe it off again (make sure the child starts in the correct place and moves correctly around the shape or letter to the correct finish point).
  • Appropriately sized crayons and pencils on course paper or card (non-shiny side of cereal boxes and corrugated card can be good fun and different to use).

As children begin a more formal approach to learning to form their letters correctly then appropriately sized and lead grade pencils are the best tool for the job. Pencil come in all widths, lengths and shapes. The key is to find the style of pencil which best suits the child and their stage of pencil grip development. Remember one size doesn’t fit all!

When a child has learnt to join their letters and has a good and consistent letter size and places all their letters on the writing line correctly in relation to each other, then it maybe they are ready to be moved to pen. It is important before moving to a child to pen that they are writing with speed (appropriate for their age) and fluidity (comfortable writing all the letters of the alphabet lower and upper case correctly). A child whose handwriting is slow and laboured may need additional support and time before being moved on to pen.

Christmas Fun That Develops Handwriting Skills and No Pencil!

Handwriting skills don’t start with pencil and paper they begin with earlier play opportunities. Play-dough type modelling, finger painting or printing activities are great for developing hand and finger strength, bi-lateral coordination and sensory perception. They are also useful activities for learning and perfecting different grips for using tools.

So why not make some great Christmas gifts and tree decorations with your child. Not only will they melt the hearts of those who receive them but you will be developing your child’s fine motor skills (needed for good handwriting) while having fun, can’t be bad!

On our Free Activities page in our Resources section you will find a number of fun ideas for crafty gift ideas.

Have fun!

Firework Chalk Pre-handwriting Pattern Pictures

Firework drawing on black

The swirls, curves and spiral movements of fireworks are a great way to practise the curve shapes and patterns needed for forming letters.

Try using black paper and chalks to create vivid firework pictures and, to give them extra sparkle, add a little glitter.

Chalk provides a little more resistance than pencil or pen, giving your child slightly more control over their movements. This is because it can slow down the drawing and so help them focus more intently on the movements needed to create the shape and pattern. The benefit of the greater resistance and a slower pace is that it helps to commit the shape formation to memory, making it easier to form the same shapes again at a later stage, such as when handwriting.

Look at pictures, photos and video clips of fireworks to help inspire the drawing, talk through how the fireworks sound and move through the sky.

For a list of words to help describe the sounds of Bonfire Night check out this week’s Teach Phonics Blog.

Have fun and enjoy!


Vertical to Horizontal Surfaces for Handwriting

Artist with easel

Young children, due to the stage of their physical development, draw from the shoulder rather than the elbow and wrist using large arm movements. At this stage they often prefer vertical drawing and painting surfaces as it allows a free range of movements. This is often why young children will write on walls, not because they are being naughty but because it just feels comfortable and so more enjoyable.

Drawing and writing on a vertical surface is important at this stage as it helps young children develop the wrist strength and flexibility they will need later on to hold a pencil correctly for handwriting.

The jump from a vertical to a horizontal writing surface can seem too great for some children; due to their stage of development. These children may benefit from the paper being positioned on a sloped board.

If you are not sure whether a child needs a sloped board for handwriting, instead of buying a specialist board, you could make one. Try using a ring binder or lever arch file stuffed with magazines and newspaper to make a sloped board. Tape the edges to stop the papers falling out; you could cover it in sticky back plastic to give a smoother finish to the board. The advantage of this is that you can make them to any angle of slope. Try a few to see which, if any, the child prefers.

A homemade sloped board is just as effective as a bought one. Often a child only requires one for a short amount of time and quickly moves to writing on a horizontal surface. For a few children a sloped surface may be required for a few years, or indefinitely, in which case a purpose bought sloped writing board is a more sound investment.

Play Ideas to Support Correct Letter Shape Formation

Letter Shape Play

Dated 12/10/17

Learning to handwrite does not start with pen and paper but through play, as children explore shape and motion (how the body moves) through their senses – touch, sight and body awareness. Play is such an important element of your child’s physical, emotional, social and academic development.

It is through play that you can really engage your child in learning how to correctly form letters (the start points, orientation, directional movements and finish points).

Our non-pencil – ‘Big to Small’ activities are an easy fun way to start developing these skills early on through play: http://bit.ly/1ASjnua

Young children love seeing their name so it is a great way to introduce letter formation; here are some other fun ideas:

  • This activity can be done indoors on large sheets of paper or using chalk on a path or patio (the beach is also a great place to do this). Write your child’s name very big and make a mark on each letter that represents a start point (an arrow showing the direction of travel can also help). Remember to use a capital letter for the first letter of their name and we would suggest lower case letters for the remaining letters. Use the letters as a track for racing cars or toys. If you make the letters big enough your child could walk, hop, jump or skip around the letters. To help them remember the letters, once they have finished a letter, encourage them to say that letter‘s alphabet name (NOT a sound the letter can make).
  • Collect stones, twigs, leaves, etc… Use them to make the letters of your child’s name. They may only make one or two of the letters, before making a hedgehog house, nest or den for their toys becomes more interesting, but this does not matter, it is all part of the adventure.
  • Feely bag games are a fun way to explore shape and form. Try placing the letters of your child’s name into a bag or box they cannot see into. It is useful to talk through the letter shapes beforehand so they can see them as they move them about in their hands; then place them in the bag. For some children it can help to have another set of the letters outside the bag to help them identify the shape they are handling in the bag. Again encourage them to use the alphabet name of the letter.
  • Play-dough, clay and Plasticine activities are great for developing hand strength for handwriting and learning how to form letter shapes.

Your child will love these sort of activities as they see it as just playing and they get your undivided attention. You will enjoy it as you are sharing quality time with your child helping them to develop more than just their letter formation ability but also their communication and social skills.

Learning through play is a powerful way of supporting your child’s development. So have fun and play!