So, the school report has been received and you have been told that your child needs to improve their handwriting.
This is all well and good, but what exactly needs improving?

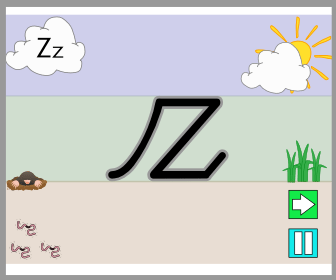
What are they finding difficult and how on earth do you write a continuous cursive z?
So, you eventually get some handwriting practice sheets home or off the web. But no amount of time spent doing them seems to make much difference. It seemed to take longer to get them started than they spent practising handwriting. In fact they seemed worse because they were unhappy and frustrated with their own progress, so the more you try to push them the more resistant they become. Eventually you think there has to be a better way than this?
Doing more of what you are already struggling with is not always the answer. Handwriting is a complex skill to learn and there are a number of reasons why a child may be struggling.
There is a wealth of information in the Parent’s section of the https://teachhandwriting.co.uk/parents.html website.
To begin with I would suggest looking at the following:
- your child’s pencil grip
- their sitting position
- Their paper position and tilt.
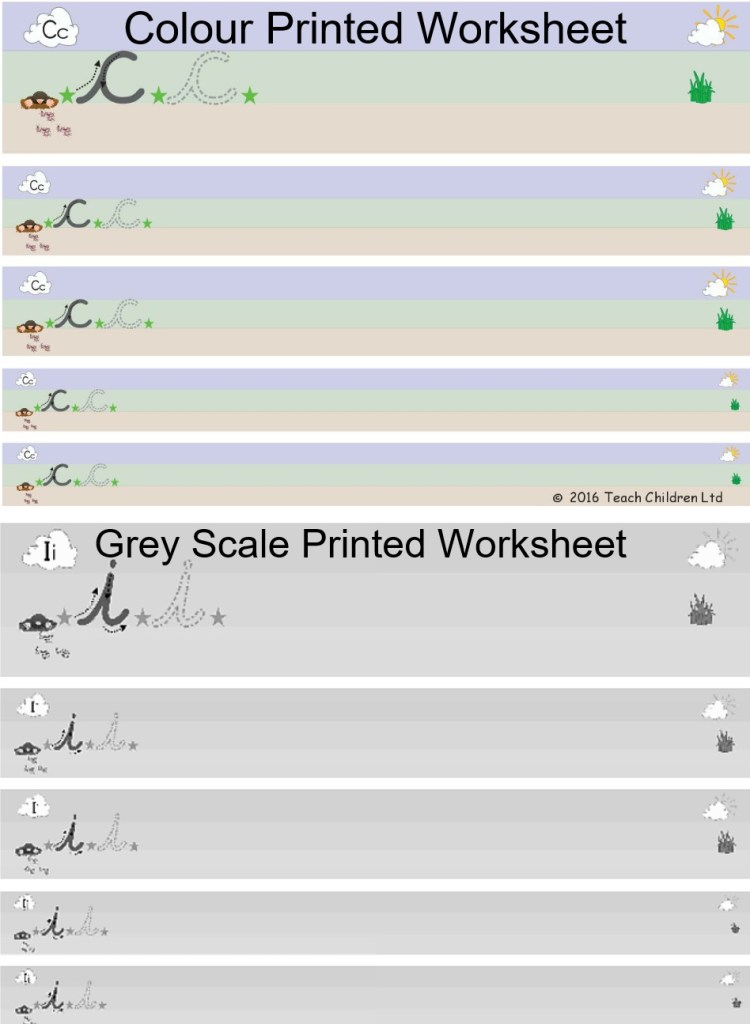
Then I would look at letter formation skills, our free animations and worksheets may help. If you think your child needs something more structured then take a look at our Parents shop (https://teachhandwriting.co.uk/shop.html ).

It is important to check and know which letter formations are being taught in school and that this is what you teach at home. Otherwise, you will only be causing more frustration and stress for your child
Many children and some teenagers struggle with handwriting because, they just haven’t developed all the gross and fine motor required. For older students it often relates to weak/poor fine motor skills. In younger ones it maybe they have not had enough experience of certain physical activities which is affecting the level of their gross and fine motor skills development.
There are many games and activities that can support gross and fine motor skills development. A number can be found in our ‘Learning Through Play’ section and the ‘Warm ups’: https://teachhandwriting.co.uk/warm-ups.html ’ activities are suitable for teenagers as well.
The summer holidays are a great time for you to be able to observe and support your child’s gross and fine motor skills and strengths. Armed with this knowledge you can play games and do activities which then help them to develop the strengths and skills which may be holding them back and making handwriting a difficult task to master.