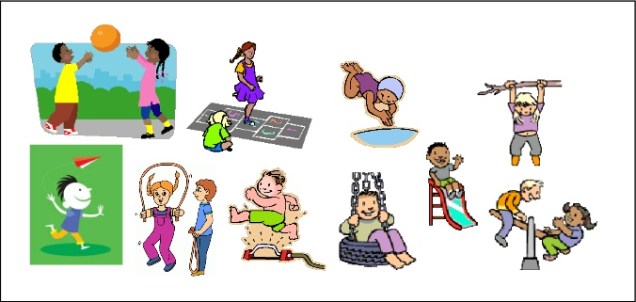
Last week we looked at non-pencil pre-handwriting pattern development, working on large scale movements through play activities.
The next stage in the progression is to move to pencil and paper activities.
Again ‘The writing framework’ states that:
“Teaching should then progress to specific handwriting lessons and practice. This might initially include systematic teaching of and practice in moving the pencil to master the horizontal, diagonal, vertical and circular strokes needed for writing.”
Department of Education; The writing framework: July 2025; page 25; https://www.gov.uk/government/publications/the-writing-framework
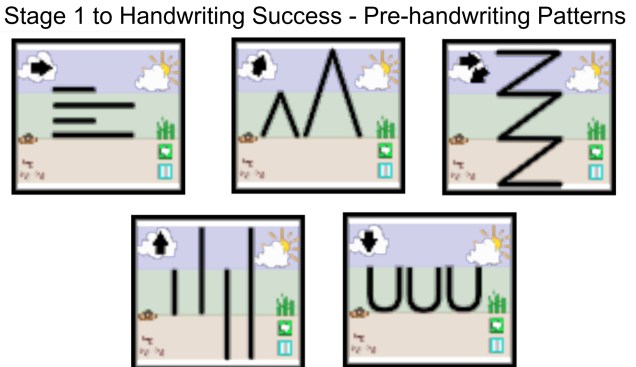
Here at Teach Children Ltd we always recommend teaching the handwriting patterns in groups, as this helps to further develop the specific movements (pushes and pulls) required to form the patterns and helps commit them to the motor memory. A child can then recall these motor memories to support them as they begin to form letters.
Pre-handwriting patterns that encourage a child to move their pencil from left to right are very important for left-handed writers. They need to be taught this so that they can make the cross motion in the H, T, J, G and I from left to right, as their natural instinct is to go from right to left. If this is not corrected when writing E and F the cross lines will not be “anchored” to the letter.
Once the handwriting patterns have been mastered a child will have the confidence and skills base necessary to start forming letters, numbers and symbols.
Have you got your Free Pre-handwriting Pattern Animations & Worksheets?
For Teachers: https://teachhandwriting.co.uk/pre-handwriting-patterns.html
For Parents: https://teachhandwriting.co.uk/patterns.html