We are half way through the summer holidays, six weeks may have seemed like a long time but it is amazing how quickly it is passing.
The last thing you and your child probably want to think about right now is developing your child’s phonological awareness skills ready for next term; and quite right too!
So, don’t think about it in the conventional way of practise, practise and practise.
Think more play, play and play!!!
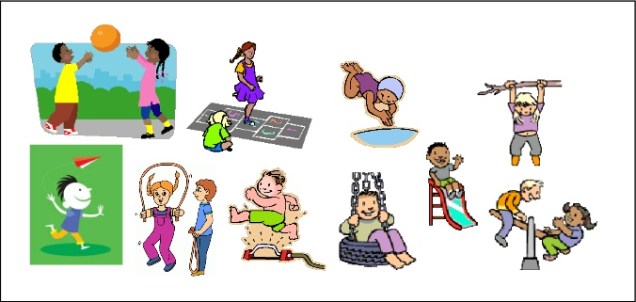
Children learn so much through just playing; developing physical, mental, communication and vocabulary strengths and skills, which all support them at school and with learning. Once introduced to a new game or activity children will very often take it and make it their own, making new rules and introducing extra characters or challenges.
The skill as a parent is remembering to let go of your preconceived ideas about how a game should be played and letting your child take the initiative.
If you provide the opportunities it is amazing how they will take on the challenge of inventing a new game or (in their eyes) improving an existing one.
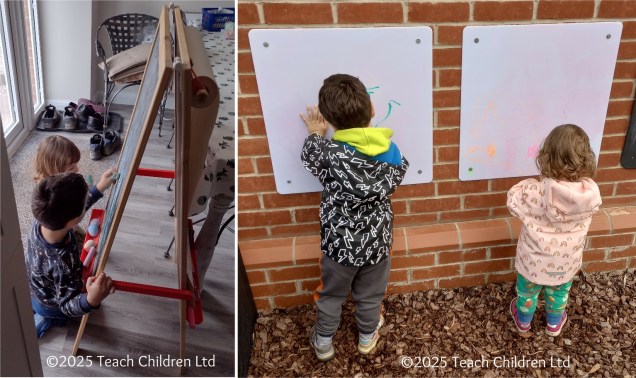
This does not have to cost a penny; use the toys they already have or make games using empty plastic bottles or cardboard tubes.
The following kind of play supports and develops language and communication skills your child needs to help them learn and you have not had to mention school or homework.
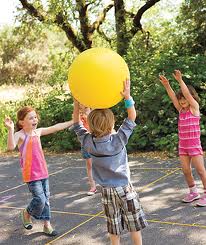
- The local play park is a fantastic free resource; running, jumping, crawling and climbing can all be encouraged. If your child is a little reluctant then it may well be that they are unsure how to do some of these activities. Explain when jumping that they needed to land on their feet and bend their knees as they land. Start small and as their confidence grows so does the height or distance they jump. Climbing can be scary for some children so again explain how to climb, moving one hand or foot at a time so that there are always three other points of contact.
- If you are lucky enough to have a garden then mud play is messy but so much fun, it can be contained in a small area and will not only make you a cool adult but, if you join in, it will knock years off you (have a go, it is a great free therapy session).
- Skittle games are always fun. Extend the activity by decorating the skittles (plastic bottles or cardboard tubes) using anything from crayons, paint or even dress them up as people or animals.