Placement (Preposition) and Directional Vocabulary Games are Important!

Teaching your child the vocabulary related to placement (preposition) and direction is import in supporting them to understand and follow instructions, as well as sharing information themselves, such as; ‘put your cup on the table’ or to say ‘teddy in car’.

We also use this placement (preposition) and directional language to explain how to draw shapes, patterns and write letters and numbers.

With handwriting now having to be taught separately from phonics and starting from the first term in reception, the writing framework recognizes that on joining reception:

“They may also need additional support to ensure they are secure in their understanding of key directional words such as, ‘up’, ‘down’, ‘round’ and ‘back’.”

Department of Education; The writing framework: July 2025; page 24/25; https://www.gov.uk/government/publications/the-writing-framework

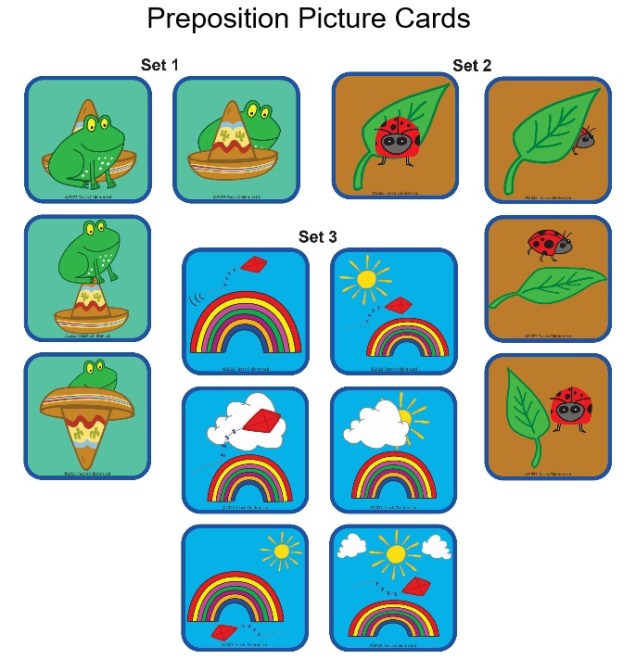
To help support the development of this vocabulary we have created three sets of picture cards and games to help you support your child in developing and using positional (preposition) and directional vocabulary.

You can find these free resources on our Phonics website by following this link: https://www.teachphonics.co.uk/phonics-resources.html

You can find these free resources in the Parent section of the Teach Handwriting website by following this link: https://teachhandwriting.co.uk/more-activities.html

What are prepositions?

A word used with a noun or pronoun to show place, position, time or means, e.g. at home, in the hall, on Sunday, by train.” Definition from Oxford School Dictionary, third edition 2002.

Here are just some preposition and directional phrases you might like to use:

On the … On top of the … Above the … Over the…

Under the… Below the … Beneath … Underneath …

Behind the …

In front of the…

Next to …Beside the … On the right of … To the right of … On the right-hand side … On the left of … To the left of … On the left-hand side… Before the … After the …

In the…  Inside the …

Out of the … Outside of the …

Between the … In between the … In the middle … In the center … Going up the ….  Going down the … Going towards the… Going away from …
Handwriting Really Starts with Play!

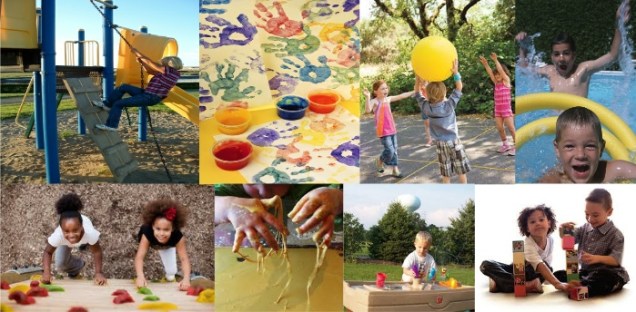
Learning to handwrite does not start with pen and paper but through play, as children explore shape and motion (how the body moves) through their senses – touch, sight and body awareness. Play is such an important element of your child’s physical, emotional, social and academic development.

Young children learn many of the directional pushes, pulls and changes in direction, required for handwriting, on a much larger scale, long before they pick up a pencil, through playing with cars or pretending to cook. These movements become the drawings/scribbles which young children form once they start mark-making, initially as big uncontrolled movements then becoming more controlled and smaller as their gross and fine motor skills develop.

It is through play that you can really engage your child in learning how to correctly form pre-handwriting patterns and letters (the start points, orientation, directional movements and finish points).

Our non-pencil – ‘Big to Small’ activities are an easy fun way to start developing these skills early on through play: https://teachhandwriting.co.uk/big-to-small.html   

Young children love seeing their name so it is a great way to introduce letter formation; here are some other fun ideas:

  • This activity can be done indoors on large sheets of paper or using chalk on a path or patio (the beach is also a great place to do this). Write your child’s name very big and make a mark on each letter that represents a start point (an arrow showing the direction of travel can also help). Remember to use a capital letter for the first letter of their name and we would suggest lower case letters for the remaining letters. Use the letters as a track for racing cars or toys. If you make the letters big enough your child could walk, hop, jump or skip around the letters. To help them remember the letters, once they have finished a letter, encourage them to say that letter‘s alphabet name (NOT a sound the letter can make).
  • Collect stones, twigs, leaves, etc…  Use them to make the letters of your child’s name. They may only make one or two of the letters, before making a hedgehog house, nest or den for their toys becomes more interesting, but this does not matter, it is all part of the adventure.
  • Feely bag games are a fun way to explore shape and form. Try placing the letters of your child’s name into a bag or box they cannot see into. It is useful to talk through the letter shapes beforehand so they can see them as they move them about in their hands; then place them in the bag. Ask them to put their hands in (both hands, if possible, but if not, then use the dominant hand) the bag, picks up a letter, feels it, identifies it and pulls it out to check only AFTER identifying it. If correct, they get to “keep” it, if wrong, you get to “keep” it. The winner is the one with the most letters at the end. For some children it can help to have another set of the letters outside the bag to help them identify the shape they are handling in the bag. Again, encourage them to use the alphabet name of the letter.
  • Play-dough, clay and Plasticine activities are great for developing hand strength for handwriting and learning how to form letter shapes.

Your child will love these sort of activities as they see it as just playing and they get your undivided attention. You will enjoy it as you are sharing quality time with your child helping them to develop more than just their letter formation ability but also their communication and social skills.

Learning through play is a powerful way of supporting your child’s development. So have fun and play!