We are always being shown how important play is in the development of young animals’ survival and hunting skills. How many times have you thought how cute or lovely when watching kittens, puppies or polar bears playing?
Humans are also animals which thrive and develop through play; in fact, play is so important the United Nations High Commission for Human Rights state it as a right for every child (Ginsburg, 2013).
We often think of play as a frivolous pastime rather than a practical and meaningful one. However, here at Teach Children we see play as a vital part of a child’s physical, emotional, social and intellectual growth and well-being.
There has been considerable research over the years on play, which supports our point of view, with the consensus being that children need to experience five different types of play (Dr.D Whitebread, 2012). These five types of play are roughly based on the developmental opportunities they provide, especially if it is child driven rather than adult lead:
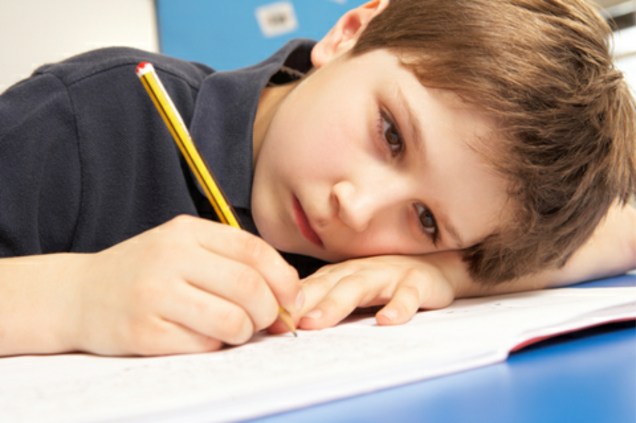
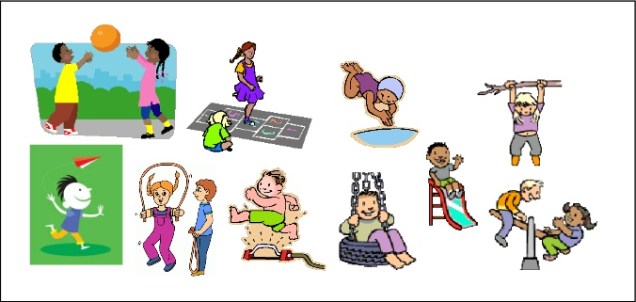
Physical Play – active exercise (running, jumping, skipping etc..), rough & tumble and fine motor skills activities to develop whole body and hand and eye co-ordination strength and endurance. The outdoor element of such play develops independence, resourcefulness and self-regulation while the fine motor skills activities support the development of concentration and perseverance.
Play with Objects – starts as soon as a child can grasp and hold an object; mouthing, biting, turning, stroking, hitting and dropping. It’s how we all learn through the exploration of our senses (sensory-motor play). This type of play develops our abilities to; physically manipulate items, think, reason and problem solve, to set challenges and goals as well as to monitor our own progress.
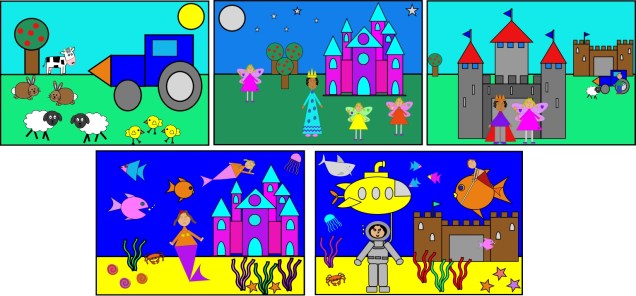
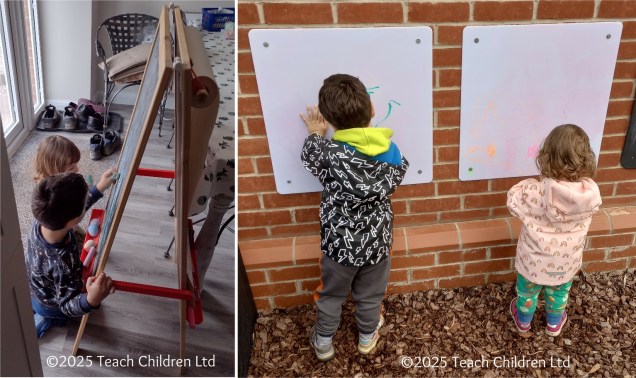
Symbolic Play – refers to the development of spoken language, visual symbols such as letters and numbers, music, painting, drawing and other media used for communication of thought and ideas. This type of play allows children to develop the abilities to express and reflect on experiences, ideas and emotions. Sound and language play develops phonological awareness required for literacy, while number play that relates to real life situations supports numeracy skills.
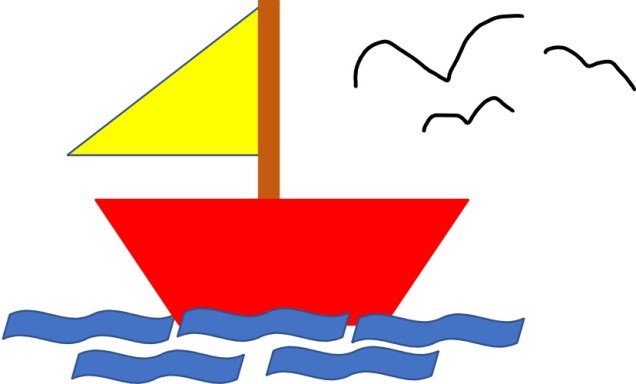
Pretence/socio-dramatic Play – Pretend play provides the opportunity to develop cognitive, social, self-regulatory and academic skills. This kind of play means children have to learn and pick up on unspoken rules of interaction, taking on the role of a character and playing within the expected confines of that role.
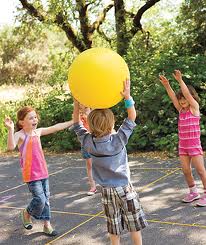
Games with Rules – physical games such as chase, hide & seek, sport, board and computer games. Develop social skills and the emotional skills of taking turns, winning and losing as well as other people’s perspectives.
So, to play is to learn!
Bibliography
Kenneth R. Ginsburg, MD, MSEd, 25/07/2013; ‘The Importance of Play in Promoting Healthy Child Development and Maintaining Strong Parent-Child Bonds’: THE AMERICAN ACADEMY OF PEDIATRICS: http://pediatrics.aappublications.org/content/119/1/182.full
Dr.D. Whitebread, April 2012: ‘The Importance of Play’; Commissioned for the Toy Industries of Europe: http://www.importanceofplay.eu/IMG/pdf/dr_david_whitebread_-_the_importance_of_play.pdf