As with learning any new skill the right tool at the right time can make a real difference to the whole learning experience as well as the outcome. Learning to handwrite is no different.
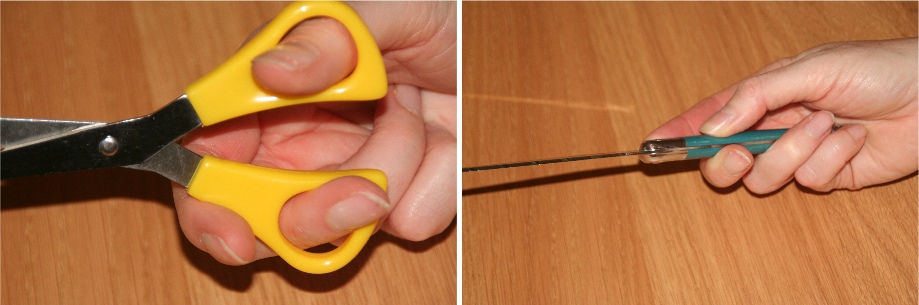
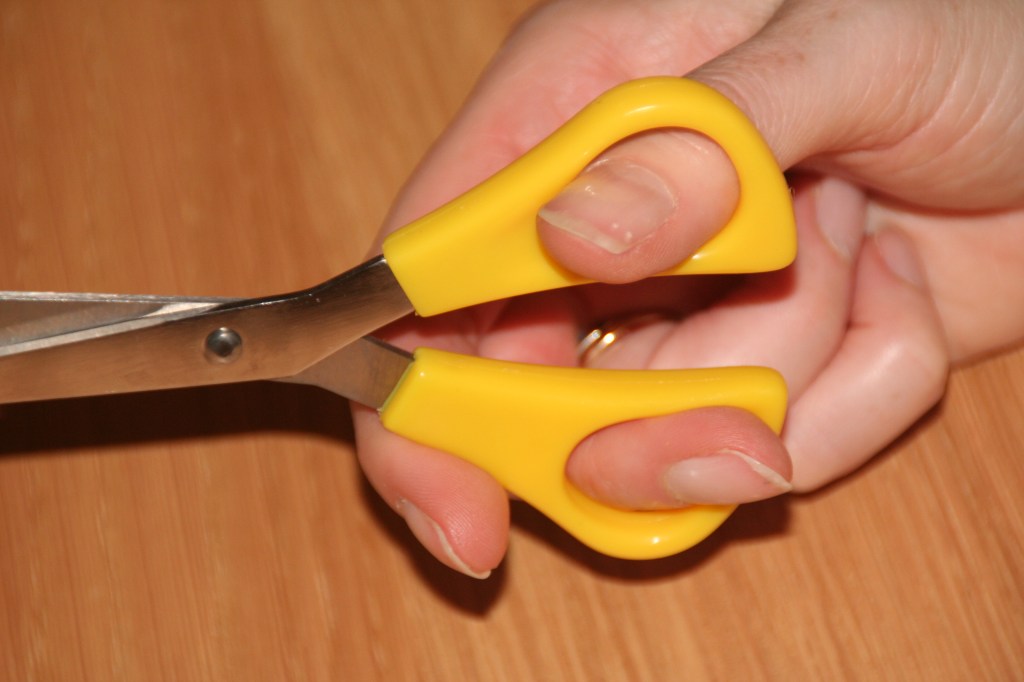
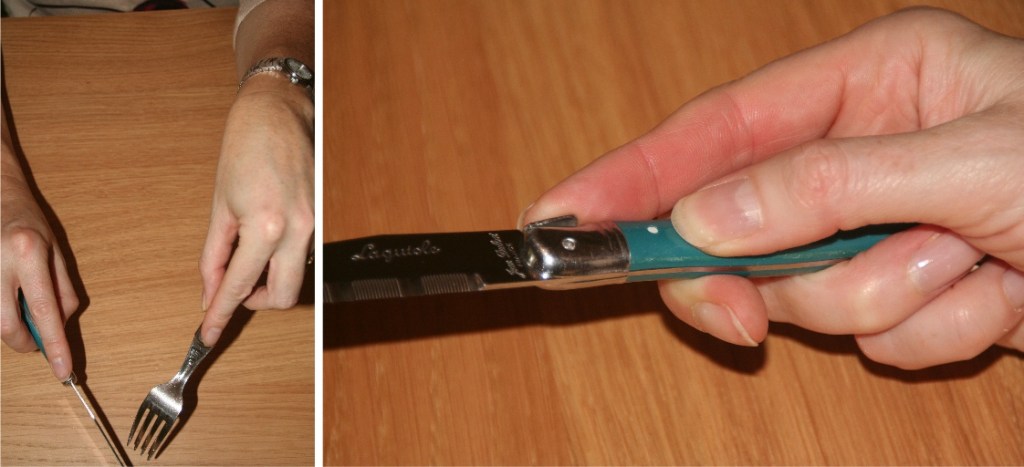
Young children due to their gross and fine motor skills ability require chunky shafted tools so that they can grip them effectively. This means they have a greater control over the tool and can achieve a more satisfactory outcome. If they are using a tool that is too thin, they will find gripping it difficult and have to keep changing their grip. They will have less control of the tool making the experience disappointing at best and discouraging at worst.
To help young children to store patterns and letter shapes formation into their motor memory it is important that the tools used provide a resistance rather than one that flows effortlessly over the writing/drawing surface. The greater the resistance the more the body can neurologically acknowledge (feel) the movement and help to send appropriate information to the brain.

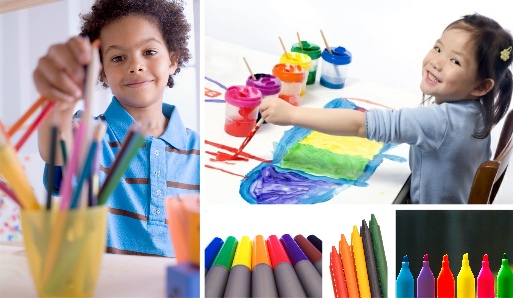
Some of the best tools for young children to begin learning to draw patterns, shapes and correctly write letters:
- Chalk on boards, walls or paths
- Flip chart pens or large felt tips on course paper such as sugar paper
- Using appropriately sized paint brushes on course paper or surfaces
- Finger painting or finger drawing in sand, paint or cornflour mix
- Finger tracing and then trying to draw the pattern, shape or letter straight afterwards.
- Try chalking the shape or letter onto a blackboard and have the child use a damp sponge to wipe it off again (make sure the child starts in the correct place and moves correctly around the shape or letter to the correct finish point).
- Appropriately sized crayons and pencils on course paper or card (non-shiny side of cereal boxes and corrugated card can be good fun and different to use).
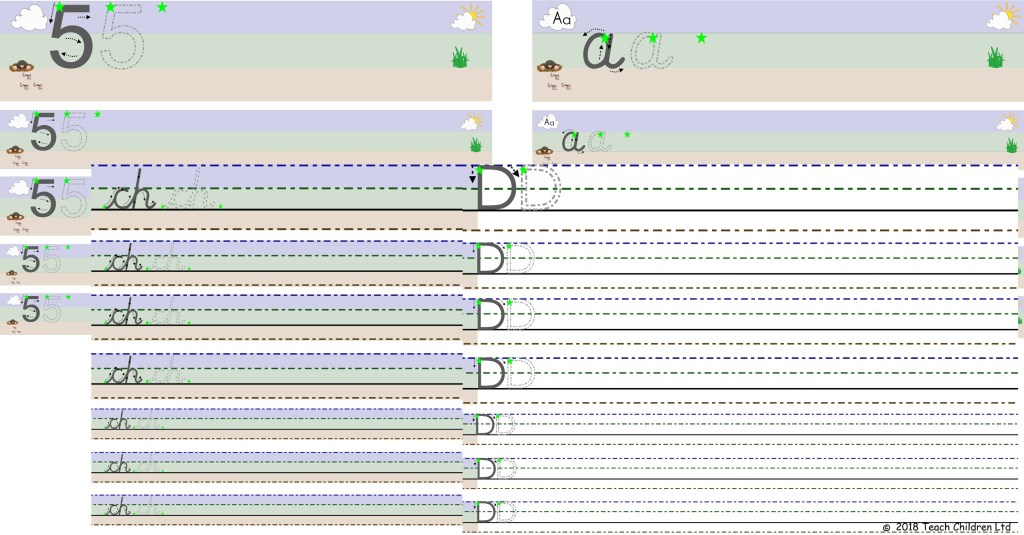
As children begin a more formal approach to learning to form their letters correctly then appropriately sized and lead grade pencils are the best tool for the job. Pencil come in all widths, lengths and shapes. The key is to find the style of pencil which best suits the child and their stage of pencil grip development. Remember one size doesn’t fit all!
When a child has learnt to join their letters and has a good and consistent letter size and places all their letters on the writing line correctly in relation to each other, then it maybe they are ready to be moved to pen. It is important before moving a child to pen that they are writing with speed (appropriate for their age) and fluidity (comfortable writing all the letters of the alphabet lower and upper-case correctly). A child whose handwriting is slow and laboured may need additional support and time before being moved on to pen.