Some children may hold a pencil correctly but struggle to maintain and control the pressure required to handwrite.
Here are some additional tips to help support a child who is pressing down too hard with their pencil:
Focused games and activities can help develop both the physical strength and sensory perception areas.
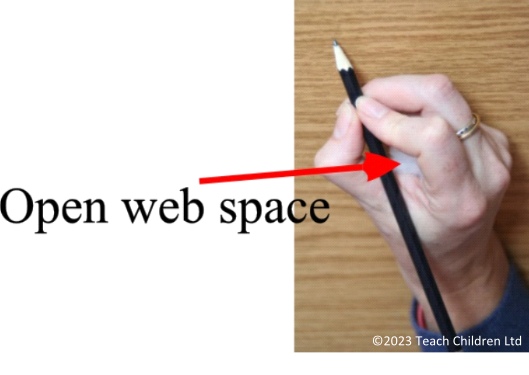
- Make sure that the pencil isn’t gripped too close to the tip of the pencil (check out the how to teach section for more information).
- Play dough writing – flatten a large piece of play dough/clay on to a desk and using a pencil write or draw onto it. The idea is to create smooth lines, not torn ones, which pressing too hard will create. The advantage of this activity is it gives a child instant feedback about whether they are pressing too hard or not. When a good pressure has been found ask the child to try doing it with their eyes closed and talk through how their body feels when they are using the right amount of pressure.
- Corrugated card – place some corrugated card under the writing paper – the aim is to try not to flatten the bumps in the card.
- Tin foil writing board – wrap a piece of card in tin foil and place the paper on top, the aim is to not rip the foil when writing.
- Carbon copies – use carbon paper to create an extra copy, start with two or three sheets of paper on top of the carbon paper then move to two and then one, so that your child starts developing an understanding of how much pressure is needed for a task and how that feels. Talk through with them how it feels as they need less pressure to create a copy.
- Pattern work – look at and discuss light and dark line patterns and how to create them. Then using different writing tools ask the child to try and create their own. Talk through how it feels when they are making dark lines compared to faint/pale colour lines using the same pencil or crayon.
Here are some additional tips to help support a child who is Not pressing down hard enough with their pencil:
Focused games and activities can help develop the physical strength and sensory perception areas.
- Crayon rubbings – when a good pressure has been found ask the child to try doing it with their eyes closed and talk through how their body feels when they are using the right amount of pressure.
- Wax drawings – rub a wax crayon all over a piece of paper then turn it over on to a plain piece of paper. Draw on the back of the wax crayoned paper and when finished lift and see another copy of the picture. The greater the pressure the more complete the hidden picture will appear.
- Carbon copies – use carbon paper to create an extra copy, start with one sheet of paper on top of the carbon paper then move to two so that the child starts to develop an understanding of how much pressure is needed for a task and how that feels.
- Use a softer pencil such as a B6 or B4 and slowly change the pencils so that they work up to a HB. Each pencil change will mean they have to exert a little more pressure to create the same line mark. B marked pencils are softer than H.
- Pattern work – look at and discuss light and dark line patterns and how to create them. Then using different writing tools ask the child to try and create their own. Talk through how it feels when they are making dark lines compared to faint/pale colour lines using the same pencil or crayon.