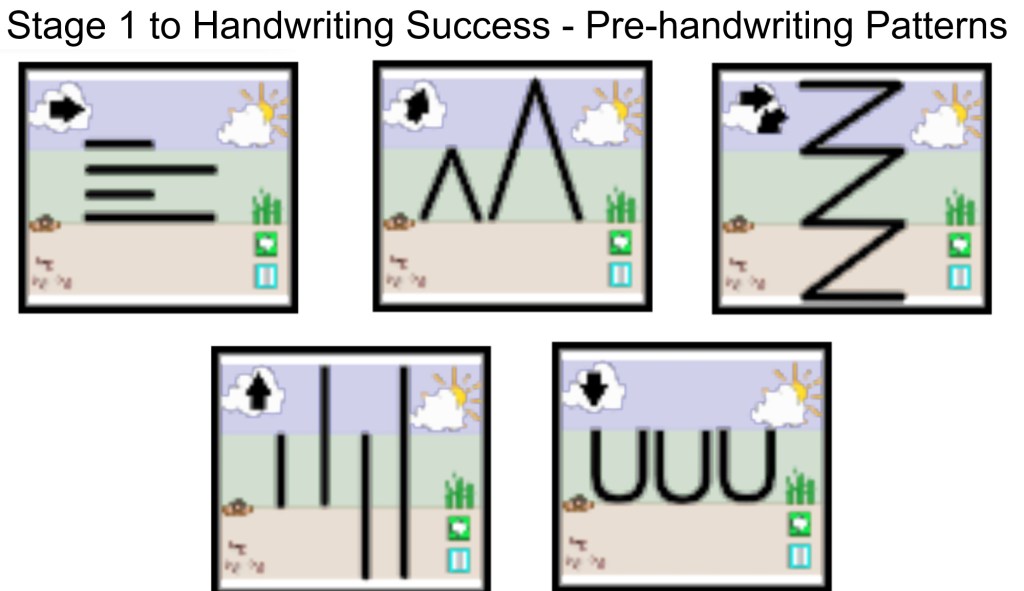
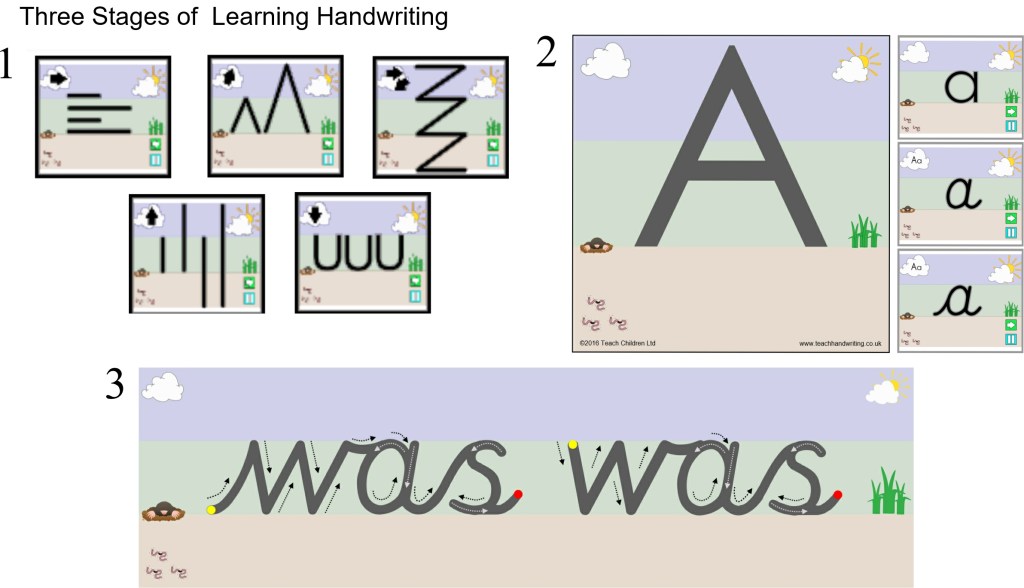
Pre-handwriting patterns are the first stage in supporting a child to handwriting success. They help the child to learn the shapes and directional pushes and pulls required to form letters. All letters are a combination of these shapes and lines.
Young children can start to learn these patterns through their play, long before they are ready to pick up a pencil, moving toys back and forth across the floor or whirling them around in the air. To a child it is just play and fun, but you are doing something far more powerful and constructive by helping them to develop the motor memory patterns and directional movement skills they will need for handwriting.
Later, as their coordination and gross motor skills develop, they make more controlled and varied movement patterns in their play. Changing directions, speed and size are all prerequisite skills needed for learning pre-handwriting patterns.
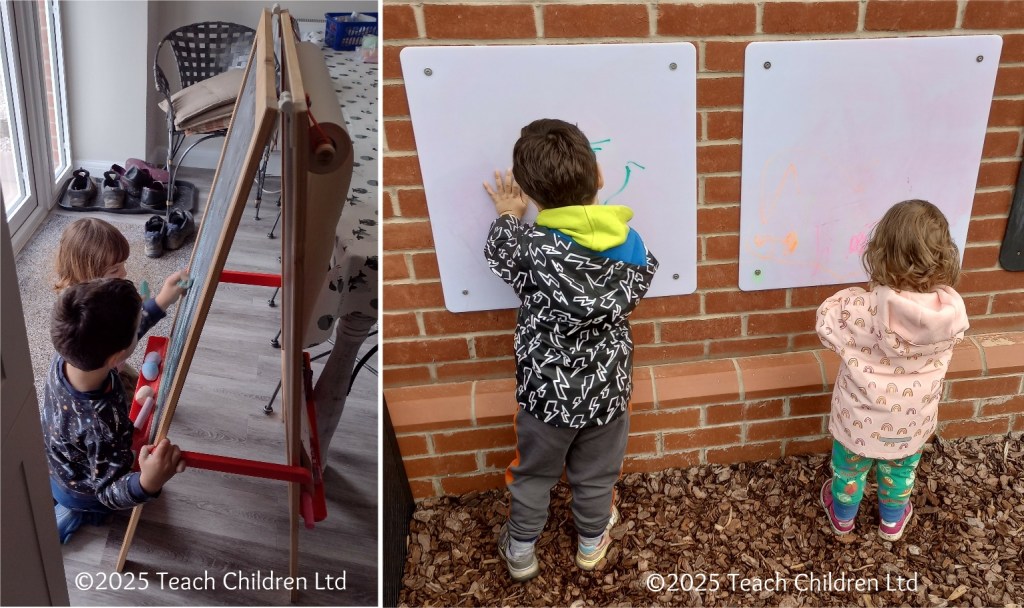
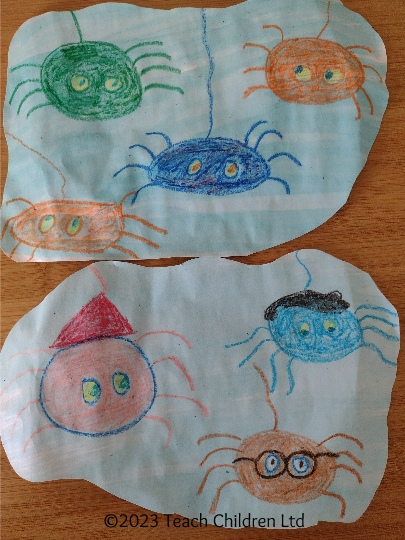
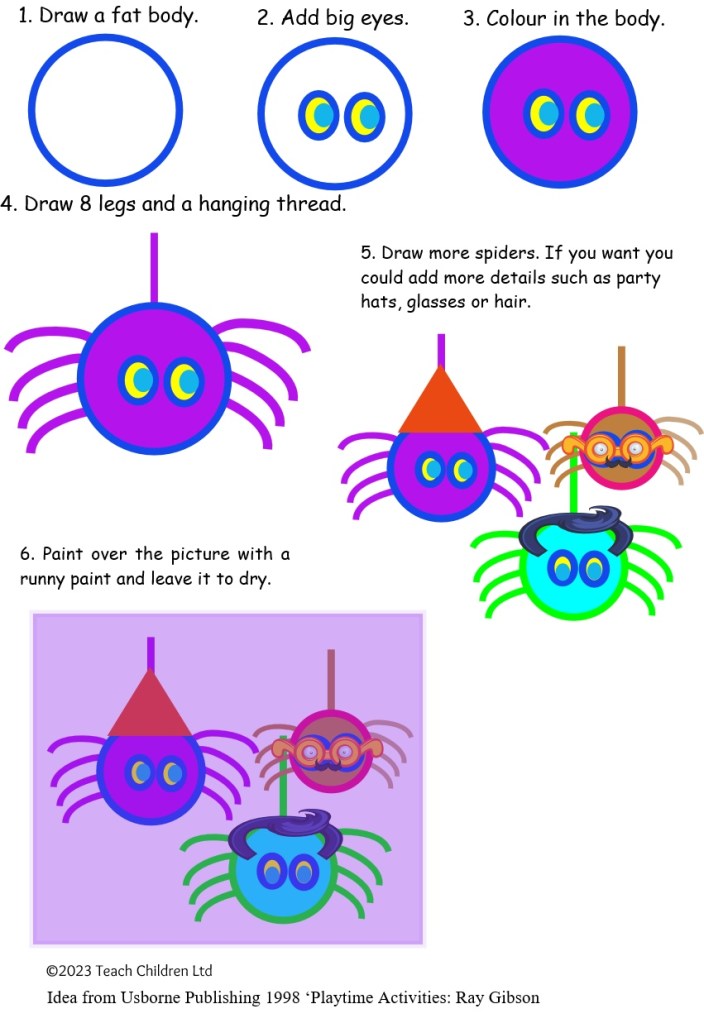
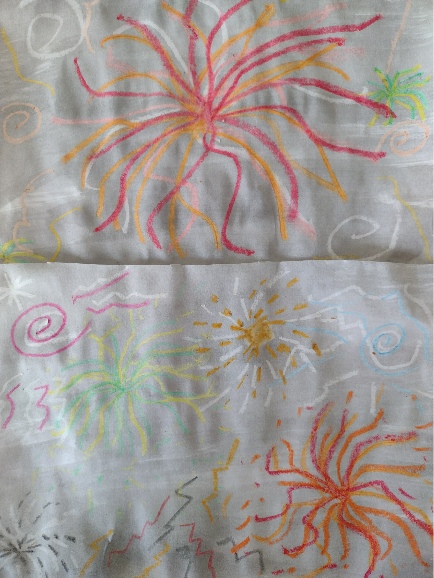
These handwriting patterns do not need to be taught as worksheet activities (though they do help to perfect shape and pattern formation), drawing pictures and patterns in sand, paint and with other writing tools are all fun ways to practise.
Teaching the handwriting patterns in groups helps to further develop the specific movements (pushes and pulls) required to form them and help commit them to the motor memory. A child can then recall these motor memories to support them as they begin to form letters.
Pre-handwriting patterns that encourage a child to move their pencil from left to right are very important for left-handed writers. They need to be taught this so that they can make the cross motion in the H, T, J, G and I from left to right, as their natural instinct is to go from right to left. If this is not corrected when writing E and F the cross lines will not be “anchored” to the letter.
Once the handwriting patterns have been mastered a child will have the confidence and skills base necessary to start forming letters, numbers and symbols.
Have you got your Free Pre-handwriting Pattern Animations & Worksheets?
For Teachers: https://teachhandwriting.co.uk/pre-handwriting-patterns.html
For Parents: https://teachhandwriting.co.uk/patterns.html