After such a long break from school it is good to take some time to check your child has not slipped back into some old, poor pencil grip habits.
Here is a recap of the things which may help them if they are still finding it difficult to form and maintain an appropriate pencil grip.
Remember it is important that you do not force a child to use the tripod grip if they are not developmentally ready. Just because they are starting school doesn’t mean they are ready to hold a pencil in the tripod grip for handwriting.
Have they reached the appropriate stage in their pencil grip development?
Every child develops at a different time and pace; find out which stage of development your child is at: https://teachhandwriting.co.uk/grip-development.html
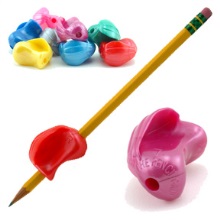
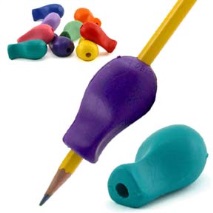
Have they been taught, & do they understand, how to form a Tripod pencil grip?
It may have been explained to them, but that does not mean your child has understood. ‘Drawbridge Flip’ videos may help them to learn more easily how to form a tripod grip for handwriting: https://teachhandwriting.co.uk/teaching-tripod-pencil-grip.html
You may find our Pencil Grip Frequently Asked Question page helpful: https://teachhandwriting.co.uk/grip-faq.html
Are they left or right-handed?
If they are of school age and do not have a clear hand dominance this can make it difficult to develop a good pencil grip. Our hand dominance information may help you here: https://teachhandwriting.co.uk/hand-dominance.html
Is your child left-handed?
If your child is left-handed for writing then you may find this link useful: https://teachhandwriting.co.uk/left-handed.html
You may find our Hand Dominance Frequently Asked Questions page helpful: https://teachhandwriting.co.uk/hand-dominance-faq.html