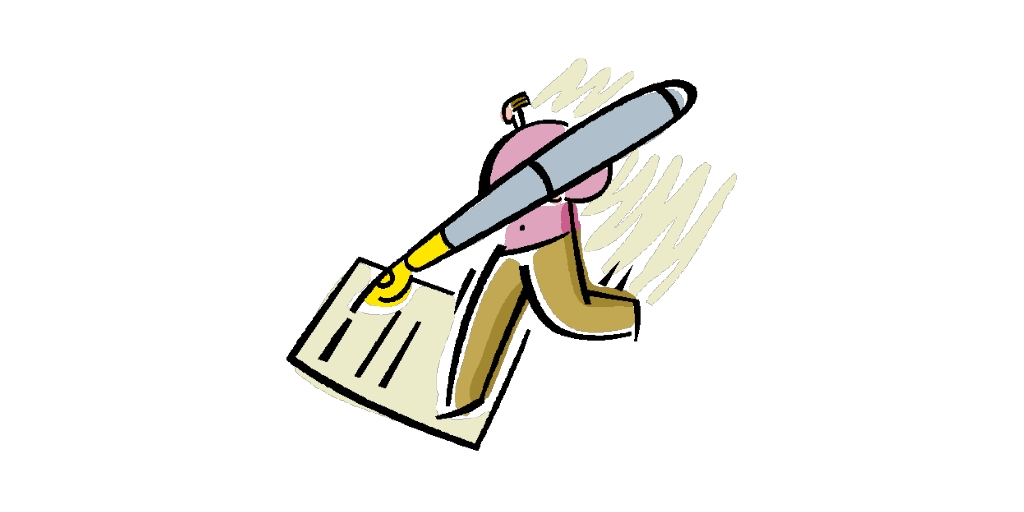
Copying accurately and quickly from a board at the front of a classroom can be a challenge at the best of times. For young children and those with specific learning difficulties it can be near on impossible. It is amazing how many children lose some, if not all, of a break time because they could not complete the copying task quickly enough in the lesson time.
The practise of taking information off the board has its uses and there are times when there is just no other alternative but it can be made more manageable, here are a few ideas which may help.
- Make sure the child is sitting facing the board.
- That they can see the board clearly.
- That light is not reflecting off the board so that the writing disappears.
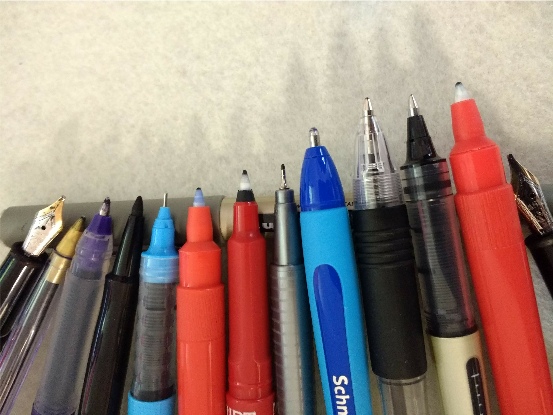
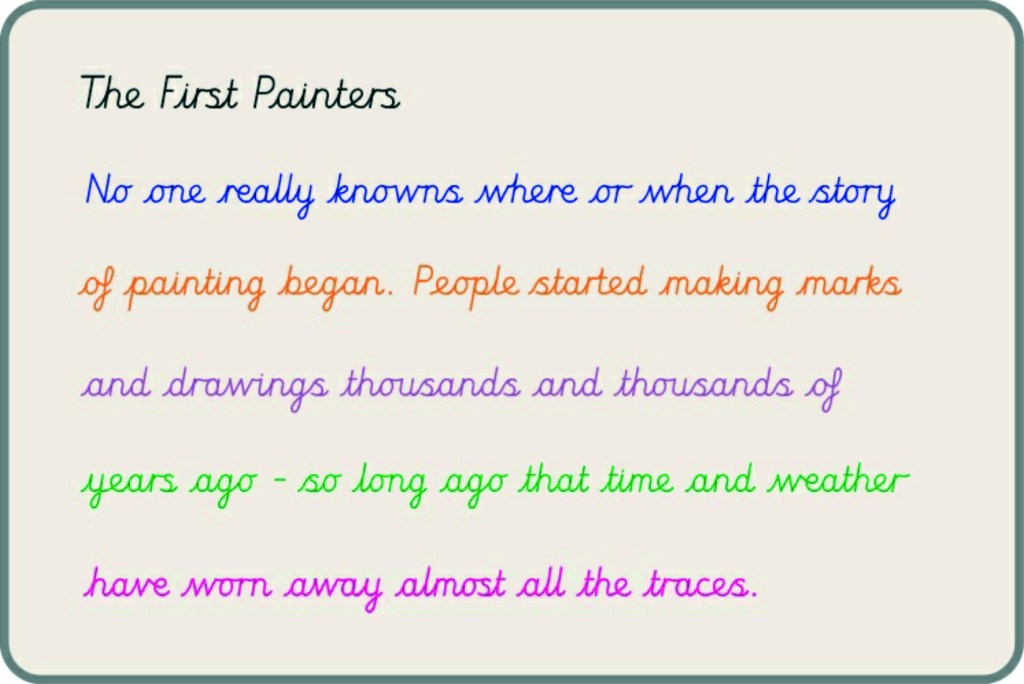
- Try using a different colour marker pen for each line of writing (this way a child will be able to quickly locate the line they were copying from).
- Or try numbering the lines so the child can more effectively find their way around the text.
- Leave more of a gap between each line of writing so that each line is clearly visible from the back of the room.
- Ask those children, who struggle copying, to start the first line of writing as you transfer the text to a smaller board which can then be placed at a more appropriate distance and level for them to continue copying from.
- If you know the information that will need to be transferred to the child’s book then pre-prepare a text that can be given to the child to copy from. It may be in a different order or layout to that on the board; but it is the information and the child’s ability to access it, that is important.
- Is a full sentence explanation always required or could the information be presented in another way such as a mind map or diagram which would be equally, or even more, useful to the child.
It can be surprising how frustrating and upsetting being asked to copy from the board can be for many children. So, anything that can help to alleviate these emotions and difficulties has got to be worth a try!