The weather this Autumn has been unseasonably warm, making it easier to go out and explore our local green and wild spaces.
It is amazing how much quality time you can spend with children just looking, talking about and collecting different leaves. The amount of language shared and new vocabulary introduced is invaluable.
It is suitable for all age groups and you don’t need a vast knowledge of plants and trees to make this fun; just remember not to take whole plants or leaves from endangered or dangerous plants and watch out for thorny, spikey and prickly leaves (if you are not sure leave the plant alone). Make sure when collecting leaves, you do not trespass on to other people’s property, or pick from their gardens!
The aim is to look at and talk about the different shapes, sizes, textures, colours and parts of the leaves. There are so many new words you can share. It is important to make sure the words used, especially if new, are age appropriate and help develop the child’s understanding:
- Shape: round, oval, heart shapes, oblong, fanned.
- Size: small, big, tiny, large, bigger, biggest, smallest, smaller, huge.
- Texture: rough, smooth, bumpy, fluffy, silky, soft, furry, shiny, glossy, feathery, spikey, prickly, thorny, scratchy, hard, stiff, ridged, flexible, bendy, veiny, ragged.
- Colour: green, brown, tan, orange, yellow, silver, gold, bronze, purple, red.
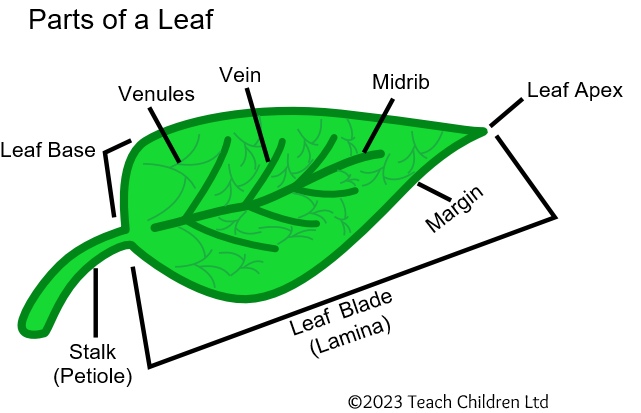
- Leaf: stalk (petiole), leaf base, mid-rib, veins, venules, leaf apex, margin (edge), leaf blade (lamina)
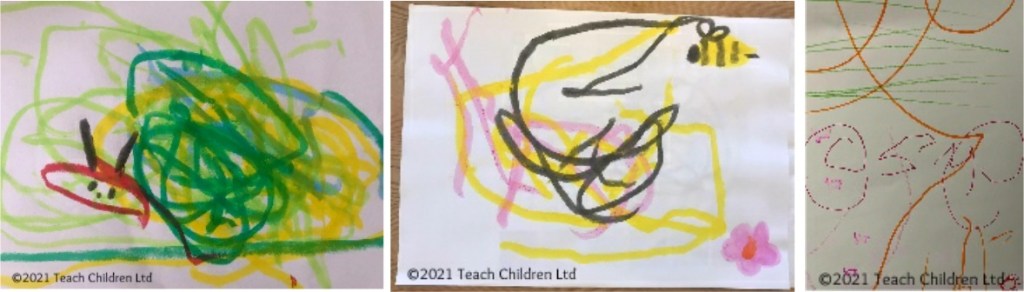
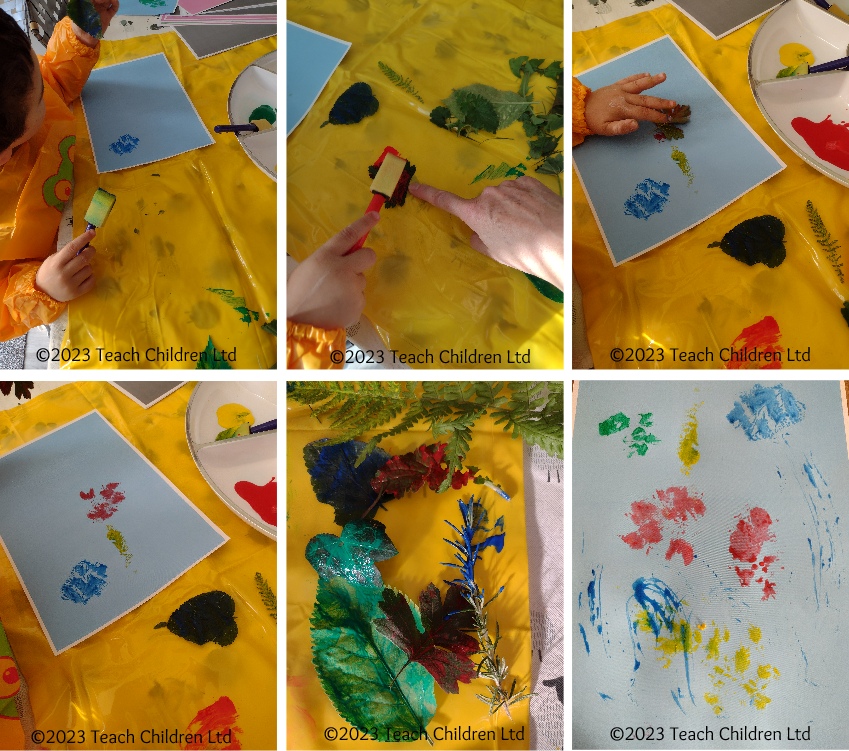
Leaf printing is fun and easy!
If you have been able to collect some leaves, they can be used to create lovely leaf print pictures and patterns.
The printing activity is a great way of helping children to understand, and for you to model, the language associated with pressure and to experience how the pressure used feels. By linking the words used to the feelings and the outcome of using the pressure they can start to understand what is needed when asked to press gently or harder.
Materials:
Paper, child safe poster paints, brushes or sponges, leaves collected from walk
Method.
- Protect the surface being used for painting and aprons for the children
- Put paint in to trays/tubs
- It can help to tape the corners of the paper down before you start printing to stop the paper lifting when you lift the painted leaf off.
- Paint one side of the leaf. This is when we can talk about how much paint (not too thick) and how gentle we need to be. If the leaf tears, due to too much pressure being used, we can support by explaining and helping the child to try again; with maybe a different painting tool or using their finger to give a great sense of feeling.
- Then pick up the leaf by the stalk, or at one end, and place it paint side down on the paper
- Encourage the child to gently tap the leaf down on the paper. Help them, if necessary, by demonstrating.
- Then using the stalk, or from one end, gently peal the leaf off the paper.
The important thing to remember is to chat about what you are doing and have fun!