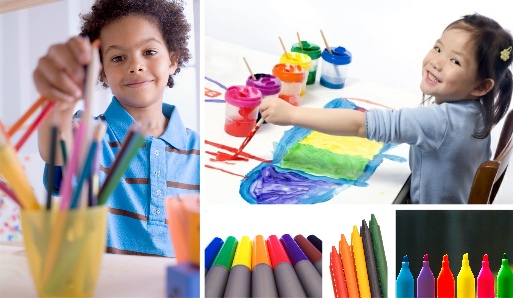
Not all children enjoy drawing and colouring and it can be difficult to encourage them. There are a number of reasons why some children seem reluctant to draw, paint or colour. For instance, some will not like the smell of the paint or crayons, while others may find the pencils, brushes or crayons too thin, long or heavy. Others may be reluctant due to past negative experiences. It can be tricky to work out exactly why a child doesn’t want to draw or write.
Here we have some tips and ideas that may help you to get started:
Paper Size– Some children like large pieces of paper to work on while others can be daunted by the prospect. Start off by having a range of paper sizes and colours for your child to choose from, this way you can find out which size of paper they prefer to work on.
Vertical surface – Having the paper pinned vertically on a drawing board or wall may also help encourage your child to have a go at drawing more than if the paper is laid flat on a table.
Drawing & Writing Tools – Have a range of pencil and crayon thicknesses, lengths and colours so that your child can choose the ones they feel most comfortable using. Try to make sure that the pencils are sharp enough to be used effectively as picking up and using a blunt pencil can be a negative experience which can turn a child off drawing or writing.
You could try using different drawing tools to start with such as chalks or special glass pens (which are great fun and designed to clean off easily).
Draw Together – Before you start drawing think about the kind of things that will interest your child, for instance drawing a train may be ideal for your little boy but not necessarily for your little girl. Use simple shapes to draw the objects so that over time your child will be able to copy so they too can draw successfully the train, cat or car. Practise by yourself so that when you are doing the drawing with your child it comes easily to you so that you can talk through what you are doing.
We have created some new drawings using simple shapes which you may find helps you to get started. Follow this link and scroll down the page a little you will find them under the ‘Activities to help hand development’: https://teachhandwriting.co.uk/more-activities.html
Tips:
Pick a time and place where you can start to draw in the same room/area as your child is playing. Start off by just sitting and drawing without actively involving your child. It is surprising how often a child will come to checkout and ask you what you are doing. They may just stand and watch for a while and go back to playing, just carry on and complete the picture without them. Leave the picture for them to see, you could let them know you have drawn it for them and have a little chat about it.